Deploy Your Own Links Page with One Click
Having one place for all your social links is big business! Services like Linktree, ContactInBio, LinkBook, etc all offer the same sort of service. One location for all your social links.
This is a nice project as a proof of concept to get you set up with your own socials links. I’ve made this in conjunction with Jamie Barton as a simple one click set up.
This was part inspired from a post from Avneesh Agarwal and from some work Jamie had done a while ago. Avneesh’s post on Hashnode details making it with the NextJS framework.
This example is a full jamstack lightweight example using Handlebars.js and Tailwind CSS.
All you need to do is enter your details into the prompts provided. There’s a choice of platforms Netlify or Vercel.
The one thing you’ll need one of the following git hosting accounts: GitLab, GitHub, or Bitbucket. I’m guessing if you’re reading this then you have at least one of these already.
Deploy with Netlify
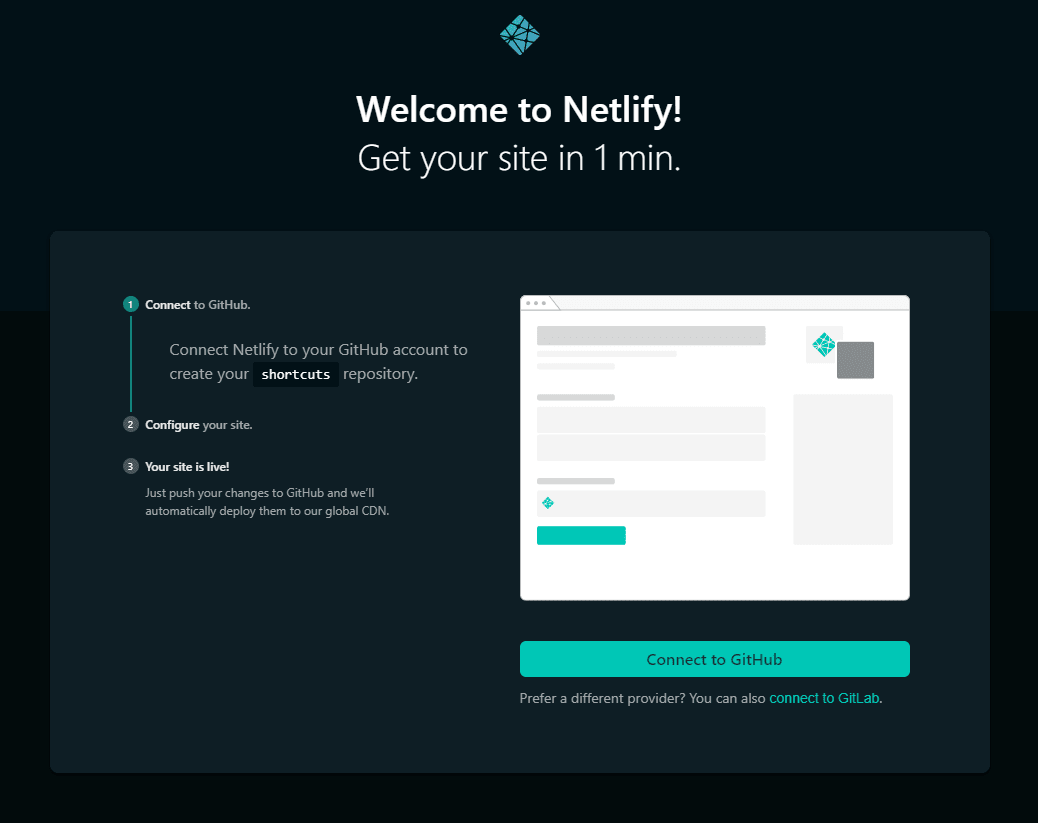
Click the Deploy to Netlify button to start the process.

You’ll be prompted to connect to GitHub, this will create a public repo for you.
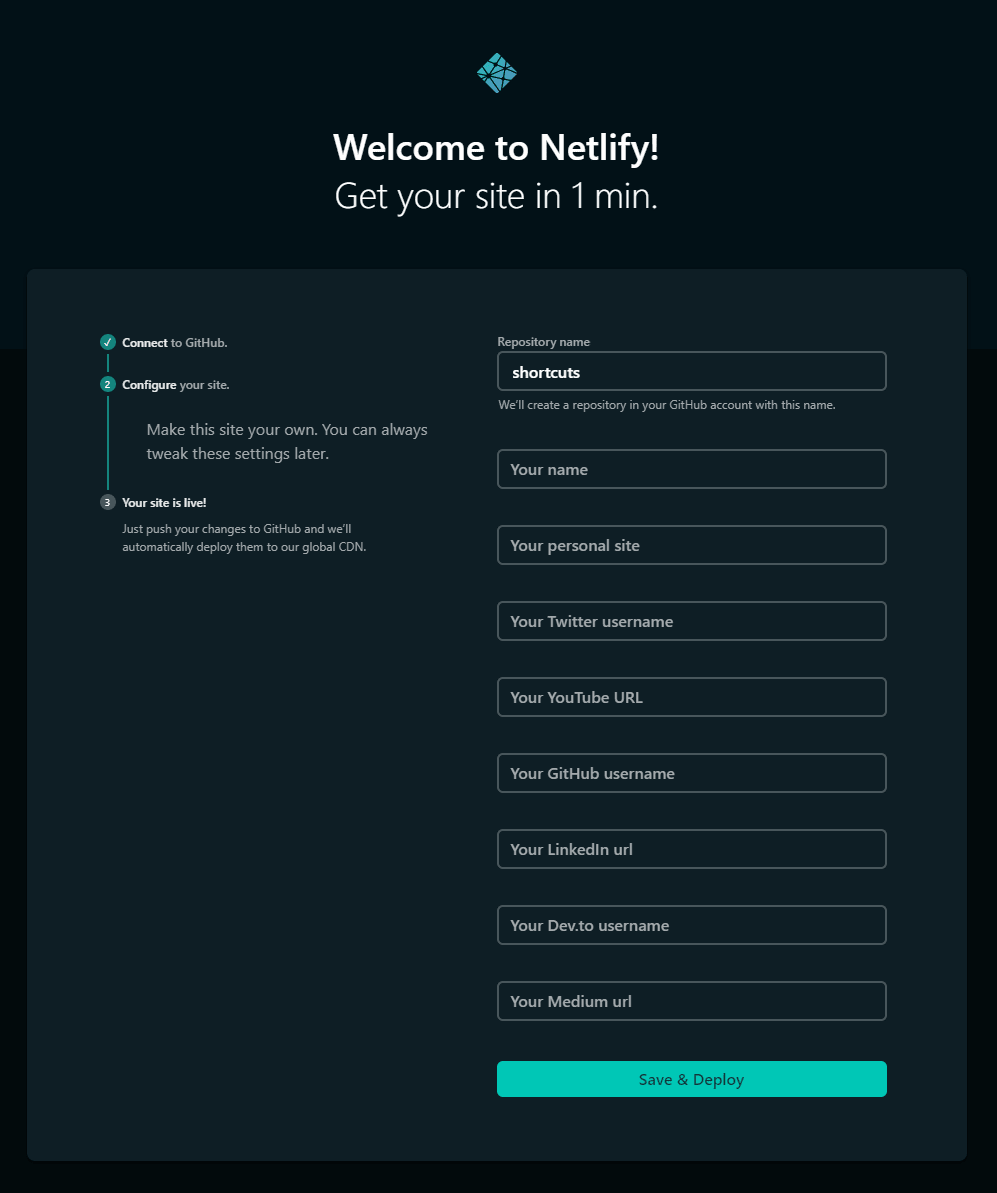
Then it’s a case of adding in your links and usernames for the
different socials. Make sure to add full URLs i.e. https://www.youtube.com/scottspenceplease if you don’t have one of
the requested links add in none and it won’t show up.
I’ve added in my links and usernames as an example here.
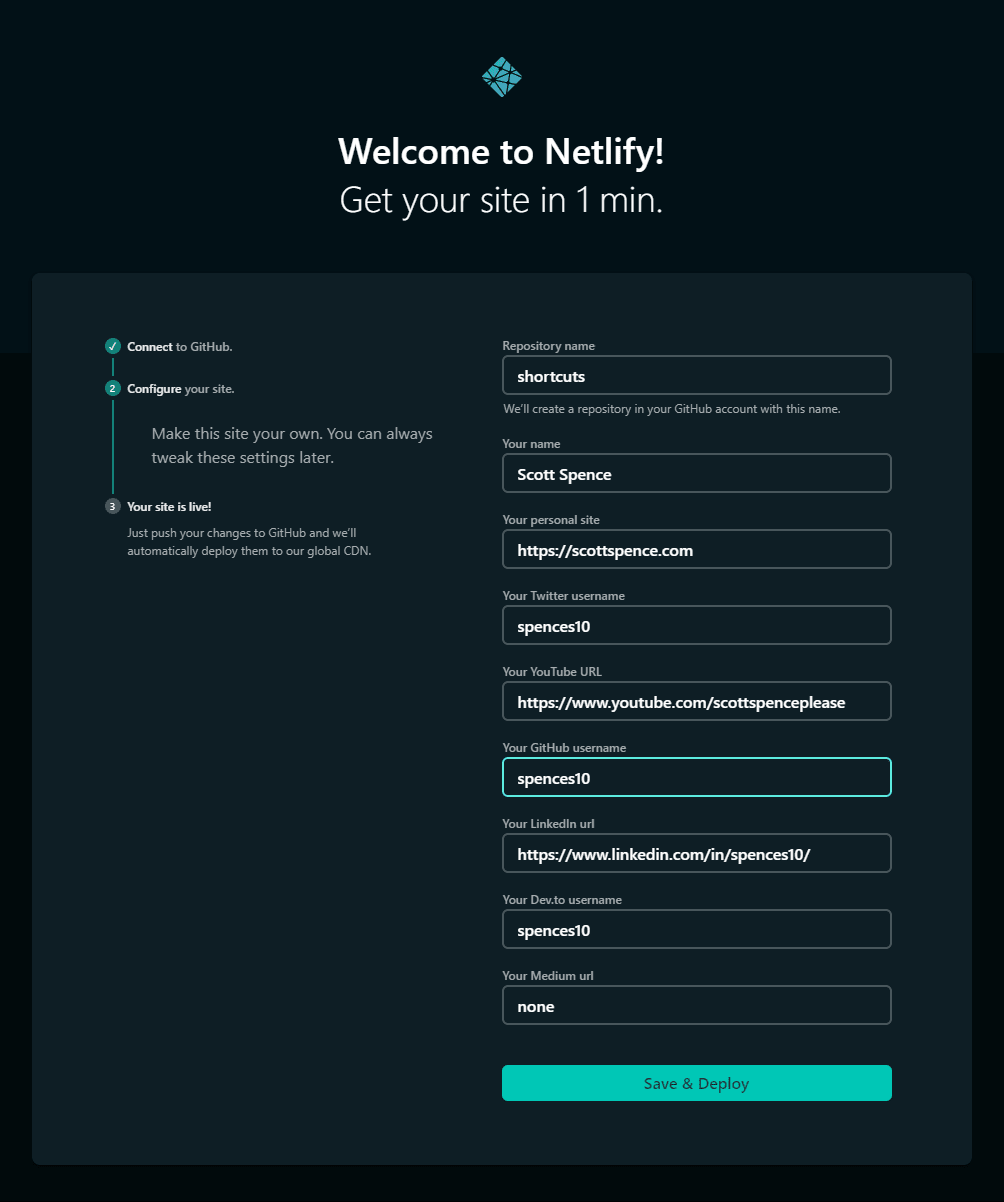
Clicking Save & Deploy will take you to the Netlify dashboard for the site.
Clicking on the production deploy section will take you to the published deploy.
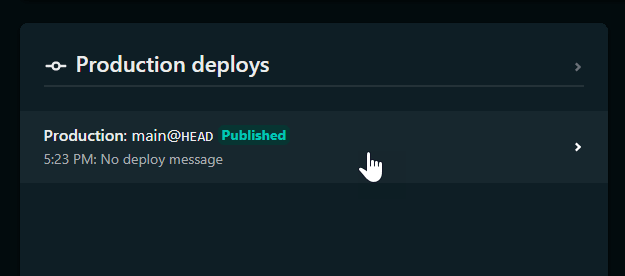
Here you can click on the preview button to see the site.

Done, as an extra step you can configure your own domain.
Deploy with Vercel
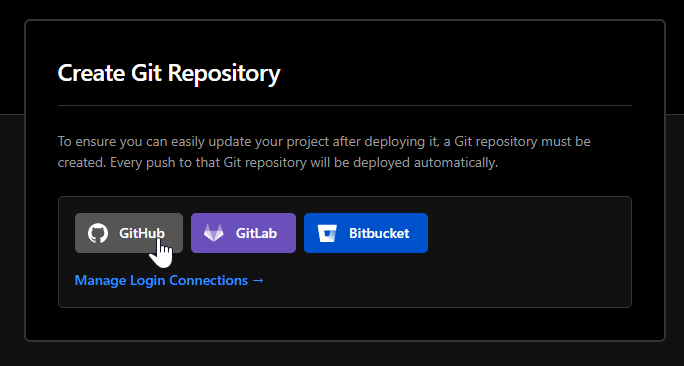
Click the Deploy button to start the process.
You’ll be prompted to connect to GitHub, GitLab, or Bitbucket.
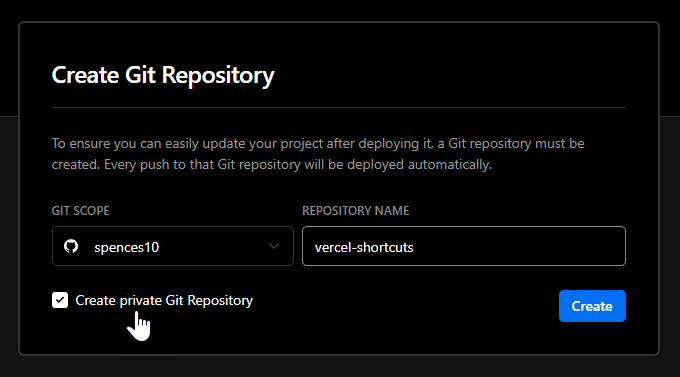
You can give the repo a name, Vercel will create this repo for you. In
my case not to cause any naming issues I’ll call this one vercel-shortcuts then choose to create it as a private repo. Click
the create button.
Skip the ‘Create a Team’ option!
Then in ‘Configure Project’ section much like the Netlify section I’ll add in my links and usernames, here’s mine as an example.
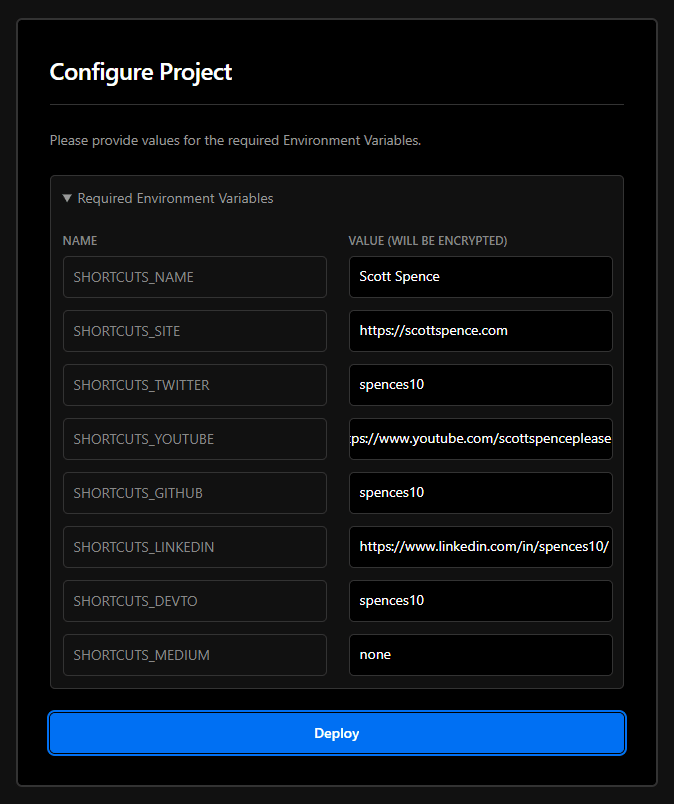
Click that ‘Deploy’ button.
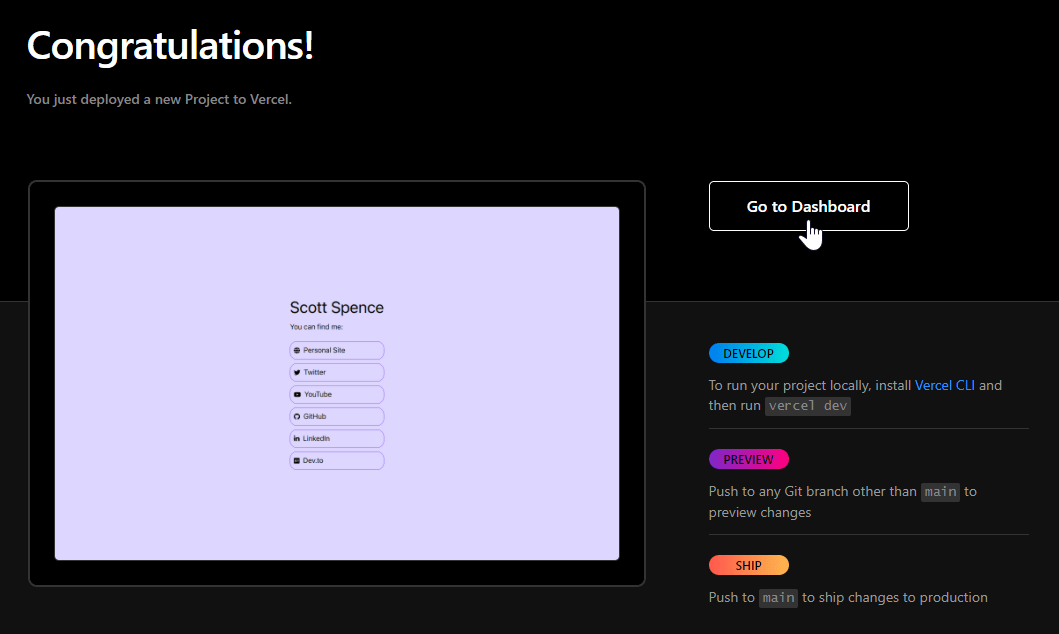
Now I can click on the ‘Go to Dashboard’ button and visit the site.
Wrap!
That’s it, now you can have your own social links page.
If you want to take it further you can add in your own socials, the code is available on Jamie’s github here.
Thanks for reading!
There's a reactions leaderboard you can check out too.
Sign up for the newsletter
Want to keep up to date with what I'm working on?
Join other developers and sign up for the newsletter.
I care about the protection of your data. Read the Privacy Policy for more info.