Windows Web-dev bootstrap
From scratch to Create React App on Windows
An opinionated guide on setting up a web development environment on Windows 10
I have been a professional web developer for 10 months now and used both macOS and Windows in that time. My preferred OS to use is Windows, for no other reason than I prefer the keyboard layout.
With Windows/Linux I like to have my Ctrl key as the key to use for copy paste operations and I can use my left pinky instead of my thumb. Anyway, let’s leave the weak reasoning behind as that’s not the purpose of this post!
If you don’t have a Windows machine then this post probably isn’t for you, if this is different from what you use, it doesn’t make it bad.
Let’s see what Ken has to say about it:
https://twitter.com/ken_wheeler/status/1075556283795824640
This is the refresh on my guide from the start of 2018 on setting up a web development environment on a Windows machine.
This guide will cover installing Ubuntu but you can use some of the other flavours of Linux available in the Windows store, the Debian setup will be very similar to the Ubuntu one.
Objective of this post
To go from a fresh instance of Windows 10 to something you can develop web apps with.
These instructions are for the Windows 10 Fall Creators Update and later.
What we’re going to cover:
- From scratch to Create React App on Windows
- Objective of this post
- Install WSL
- Enable WSL on your machine
- update, upgrade and autoremove
- Install Node (with
n) - Install Visual Studio Code
- Install Windows Git
- Install a Terminal (Hyper)
- Install Fish Shell!
- Configure
- Git config
- Create React App
- Use SSH with GitHub
- Change WSL version
- Wrap up!
Install WSL
You can install Ubuntu from the Microsoft store which will be the first half of the install the second will be when you open the app.
Enable WSL on your machine
The official guidance covers it very well, but I’m going to add in the shortcut keys here if you don’t want to be clicking around with the mouse.
Before that however, if you haven’t selected PowerShell as your default Command Prompt you can select it from the Taskbar settings page located in the Personalisation section in the Settings, I suggest doing that now:

Whilst we’re at it we should also enable hidden folders and add files extensions for known file types in Windows File Explorer.
Open the Windows File Explorer with Windows key+e then select View from the ribbon. Then click the Options button on the far right, this will bring up the Folder Options dialogue, from here we want to select the View tab and select the Radio button for Hidden files and folders with the ‘Show hidden files, folders and drives’, uncheck the option for ‘Hide extensions for known file types’ too. Click apply and Ok.
The reason we’re doing this is so that we can see the .git folder in
project structures it’s also needed for files like .env files which
are used for environment configuration.

Use Windows key+x, this is the same as right-clicking the windows icon on the desktop, this will open the quick link menu. From here you need to select the Windows PowerShell (Admin) option, you can do this by pressing a on the keyboard. So Windows key+x then a, will open the user account control (Admin) prompt, presuming you have admin rights on your machine you’ll need to click yes to continue.
Copy the code here and paste it into the PowerShell window, Ctrl+v will work in PowerShell, press enter to execute the command.
Enable-WindowsOptionalFeature -Online -FeatureName Microsoft-Windows-Subsystem-LinuxYou will be prompted to restart your machine after this, which you should do.
Check the link for a complete list of windows keyboard shortcuts.
After restarting you can open the Ubuntu program from the start menu
and the second install (of WSL on your system) should happen. Wait for
this to complete then you will be prompted to create a user and a
password for the account. You will need to remember the password
created for the user as you will be prompted for it to use sudo privileges.
update, upgrade and autoremove
At the time of writing this, the version I have linked of Ubuntu is 18.04.1
The linked app will install the latest stable Ubuntu release on Windows.
You can check what version of Ubuntu you have installed with:
lsb_release -a!e]
If you want to use a specific LTS version of Ubuntu you can get them from the Windows Store, here:
Now we’re going to go ahead an update and upgrade all the things, the three commands here will update and upgrade all the pre-installed software that comes with the Ubuntu install.
The code below is three commands joined together with &&. The -y flag is to auto accept the changes that are going to be performed with
the upgrades. Auto remove will remove unused packages left behind from
upgrades.
Copy the below commands into your Ubuntu terminal, and run the command:
sudo apt update && sudo apt -y upgrade && sudo apt autoremoveTo go from 16.04 to 18.04 try
do-release-upgradein the terminal. be warned this takes considerably longer than just deleting the current install of Ubuntu and starting again.
Now that the base has been installed and updated we need to install the build-essential package in order to compile and build other packages, the following packages we’re going to install will all need it.
sudo apt install -y build-essentialFrom here on in I’d suggest using two bash windows, one with sudo enabled the other with standard permissions.
i.e. open a terminal and don’t enter
sudoin there, instead use the terminal that has been granted that permission.
The reason for this is that I have found if you install node as sudo
then each time you want to run an npm install command you will need
to grant sudo permissions and it can all get a bit tedious. And you
really shouldn’t be installing npm packages with sudo permissions.
Install Node (with n)
Let’s get our run-time on! If you use Node.js you will eventually have situations where you need to be able to switch Node versions, for this you may have heard to nvm (Node Version Manager) which by the way you can still use in WSL.
The reason for me opting for n over nvm is that in the past I experienced slow bash startup times whilst using nvm. Take a look at this WSL GitHub issue detailing it and the specific comment for the pros of using n.
Ok let’s install n, with n-install, the command doesn’t start with sudo so use it in the bash window you have with no sudo privileges.🧐
curl -L https://git.io/n-install | bashThis will install the latest version of Node for us, follow the prompt on the terminal screen to reload bash:
# mine looks like this
. /home/scott/.bashrc
Now check the versions of Node and npm we have installed with node -v && npm -v in the terminal.
Install Visual Studio Code
Install VS Code? What? This post is to set up WSL? Ok, so we’re going to presume that this is going from nothing to being able to web dev, so we’re going to need a text editor, and there’s nothing out there at the moment that comes close to VS Code, if you already have a text editor installed then skip to the next part.
Install the Windows version of VS Code from the Download section once installed we can enable WSL in the settings, the quickest way to do this is to open the integrated terminal in VS Code with the shortcut keys Ctrl+’ 👈 that’s and apostrophe. You will be prompted to select your default terminal, select WSL Bash.

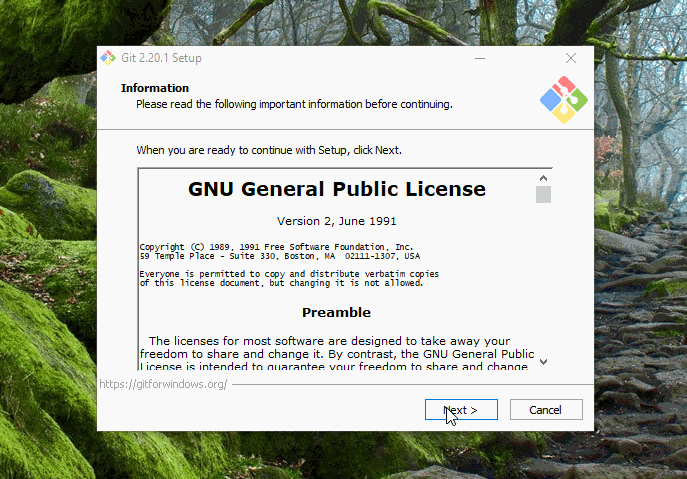
Install Windows Git
There’s a bit of stumbling block getting Git support for VS Code, it’s well documented in the various issues mentioned in the linked issue.
There are workarounds as well with things like WSLGit which has it’s own set of issues, this all stems from users (me included) not wanting to have to install another binary for Git.
I have tried several variants when it comes to using Git with VS Code and the path of least resistance was biting the bullet and installing that additional binary, there’s an overhead with having to maintain and configure SSH keys for both Windows and WSL Git but it’s a one time setup.
Until the VS Code team incorporate WSLGit into VS Code I think this is the best option.
Install from git-scm.com the link will start downloading the install binary you can then open it and go through the install, you can keep clicking next through the install, I have selected a few options that I would like enabled.
For now, that is all we need to do, when it comes to authenticating with with GitHub using SSH we will use the Git Bash command line to configure the Windows side of things.
Install a Terminal (Hyper)
Now we have bash on Windows it’s time to install a nice Terminal app, because, let’s face it, the standard one is a bit basic.
Enter Hyper an electron based terminal app that is super themeable and configurable.
Download and install hyper for Windows, this will be the bare-bones version, it’ll look something like this:
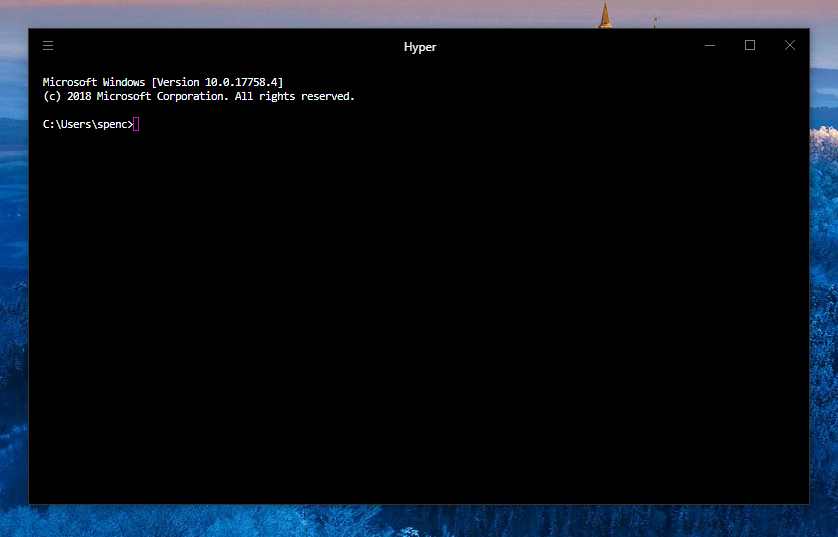
You may notice that, this is the Windows Command prompt too, don’t worry, we’re going to configure that right now.
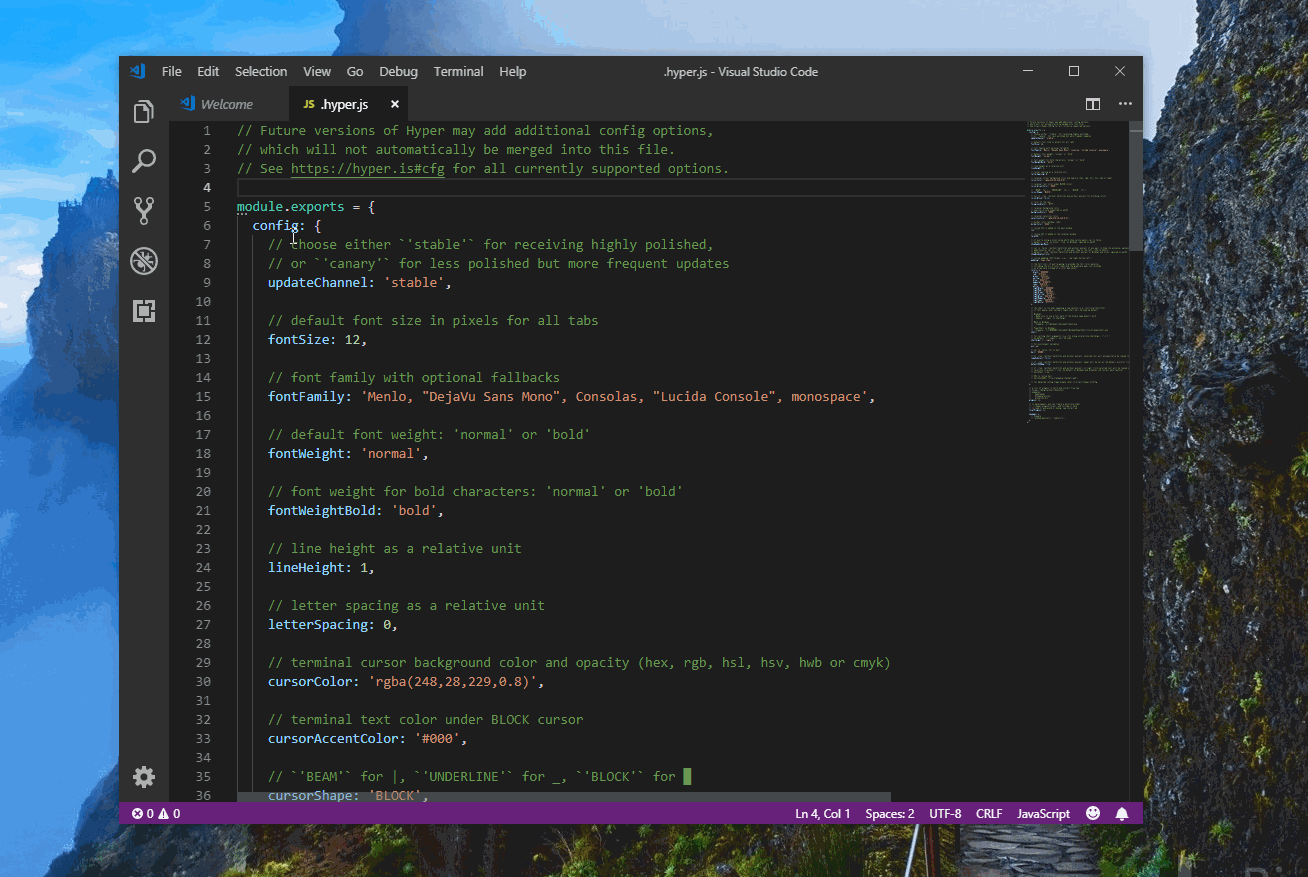
Open up the .hyper.js file located in the root of your user folder,
or from Hyper itself use the shortcut key Ctrl+, to pop open the
settings.
If the settings file (.hyper.js) opens in Notepad then you can set
the default to be VS Code. In File Explorer (Use Windows key+e to open
it) navigate to the file, it’ll be in your User folder, right-click
the file and select Properties, then Change for ‘Opens with:’ and
select VS Code from the list.

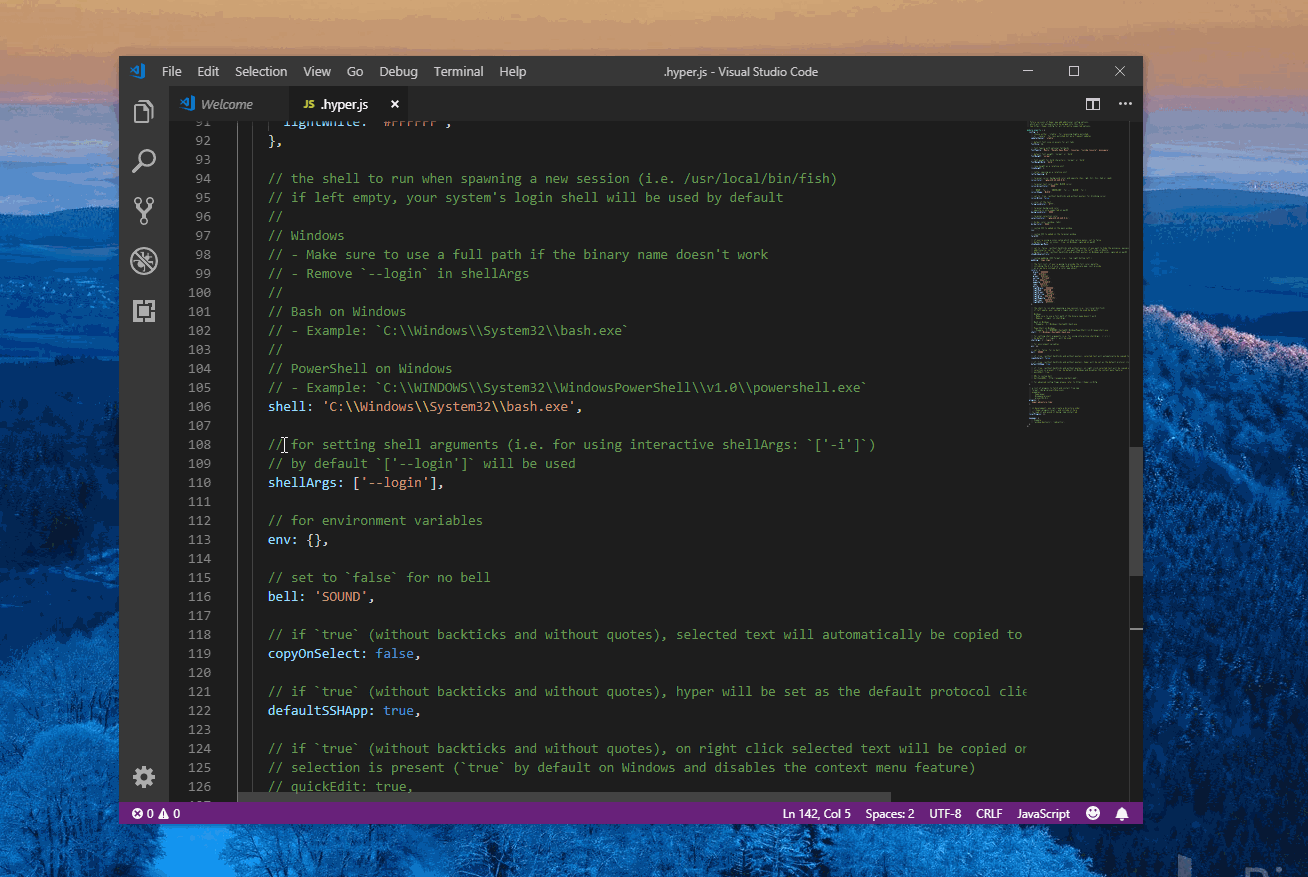
Now we can set WSL as the shell path in Hyper, open the .hyper.js settings file and search (Ctrl+f) for bash, we want to add the path to
the WSL shell into the shell property defined in the file.
// amend shell path
// WSL Bash
shell: 'C:\Windows\System32\bash.exe',
We can also change the appearance of Hyper from here by specifying
font size and font family and also predefined themes, let’s quickly
add in the hyper-adventure-time theme into the plugins section.
Open another Hyper tab with Ctrl+Shift+t, this will show the bash terminal for WSL now.
Quick orientation with the Hyper terminal keyboard shortcuts:
- New tab = Ctrl+Shift+t
- Close current tab = Ctrl+Shift+w
- Cycle through tabs right = Ctrl+Shift+right arrow
- Cycle through tabs left = Ctrl+Shift+left arrow
Now I’m going to configure some additional properties for Hyper, and change the theme to something a bit more subtle.
I purchased Dank Mono, if you want a similar font as OSS check out FiraCode.
Here’s what I changed:
module.exports = {
  config: {
    fontSize: 18,
    fontFamily: '"Dank Mono",...',
    cursorShape: 'BEAM',
    cursorBlink: true,
    copyOnSelect: true,
    plugins: ['hyper-altair'],
  },
}
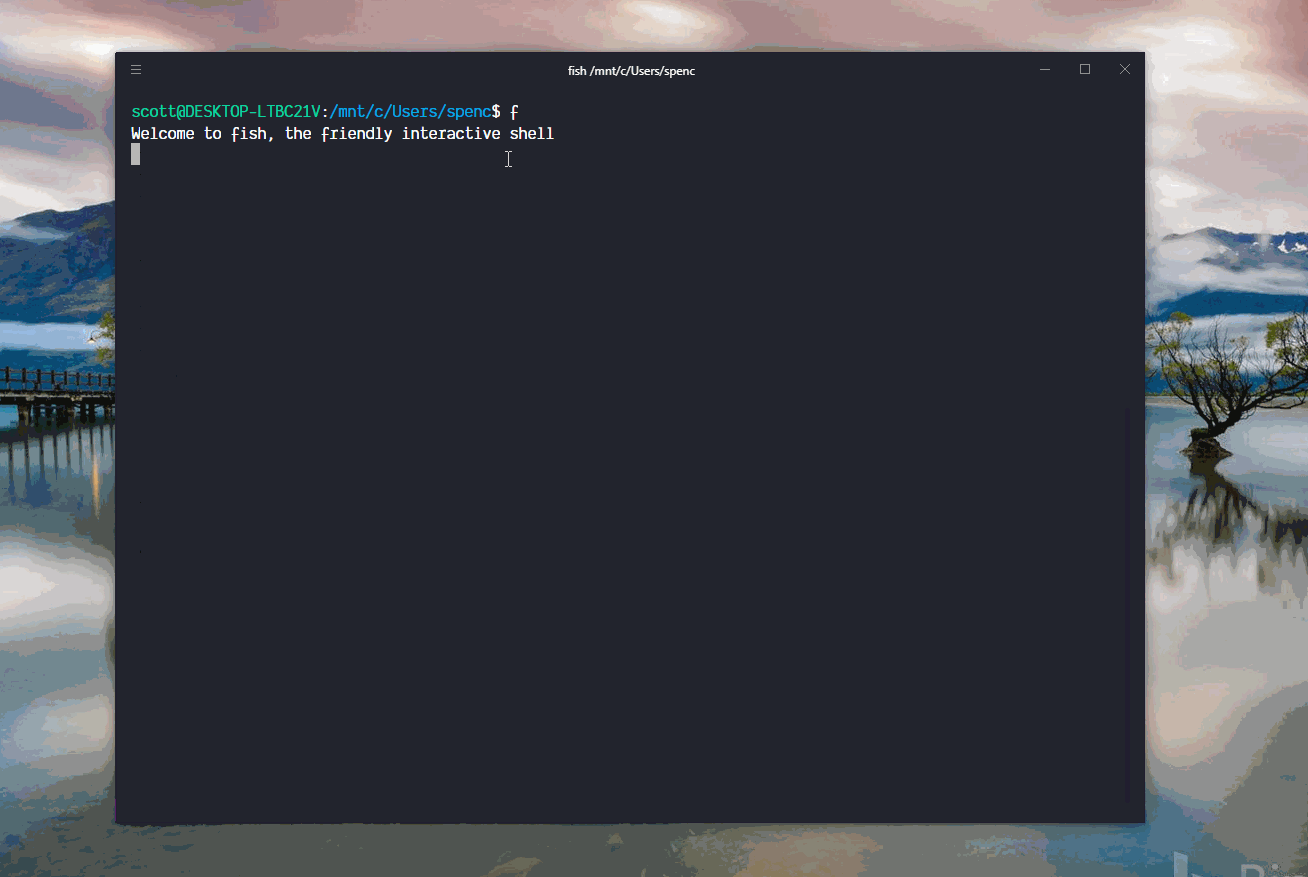
Install Fish Shell!
Ok, time to install the Fish Shell! This is a completely optional step, I like to use fish for the nice intellisense you get when navigating file structures, there are also some neat themes you can get with Oh My Fish
sudo apt -y install fish
Install Oh My Fish
Now we can install Oh My Fish (OMF) and get a nice terminal theme going on too, remember we talked about running commands with the correct permissions? Well this is one of those occasions, open a new tab first then paste in the following:
curl -L https://get.oh-my.fish | fish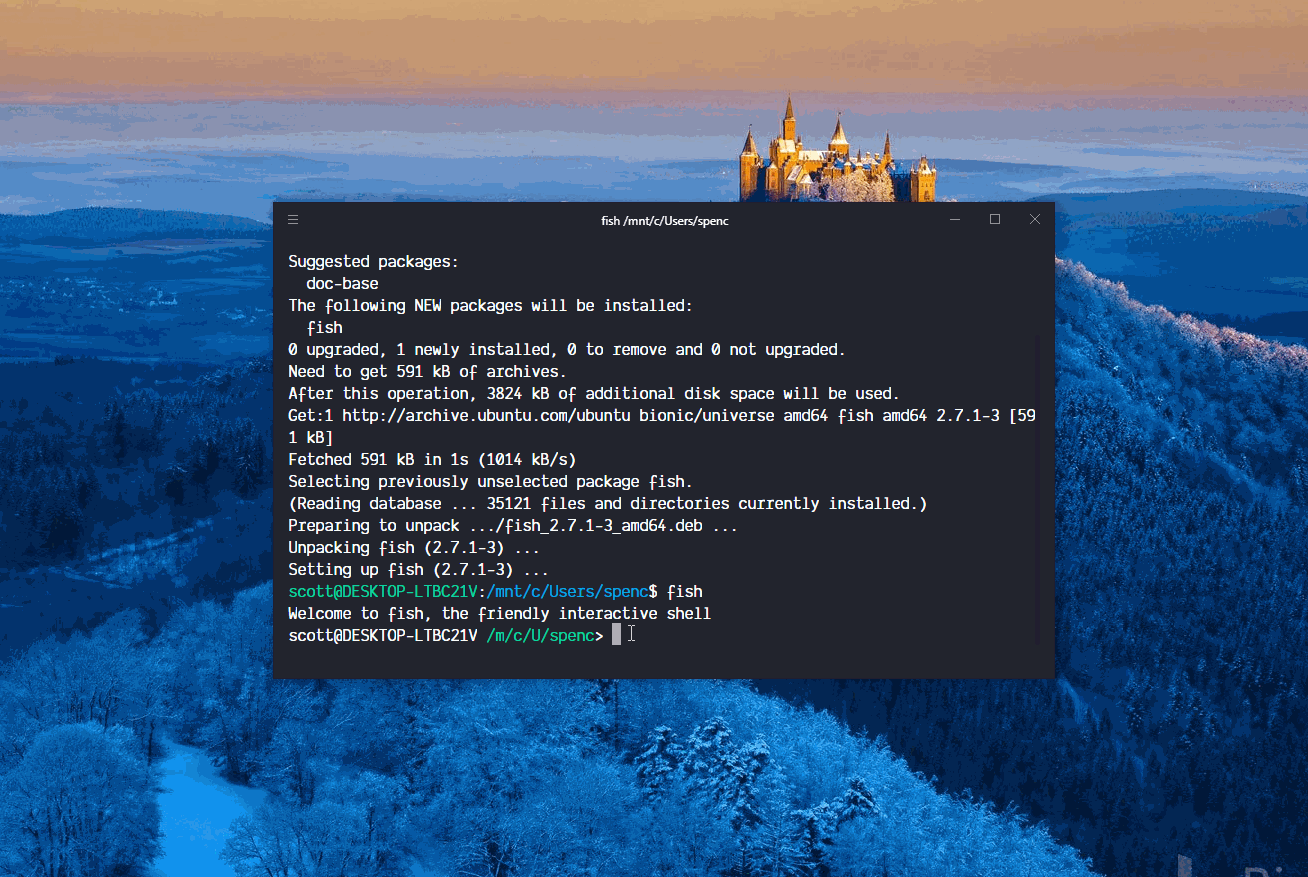
Fish themes with OMF
After installing OMF you can pick a theme, here you may notice that the text doesn’t fit in the screen on Hyper, a quick way to reset it is to maximise the window then back again, I did this with the Windows key+arrow up to maximise the Windows key+arrow down to restore it.
After installing omf I chose the theme agnoster, installed with omf install agnoster you can list out what is available and what you
have already installed by selecting omf theme let’s change it once
more to the one theme, adjust the size of the window first as things
are getting a bit cramped.
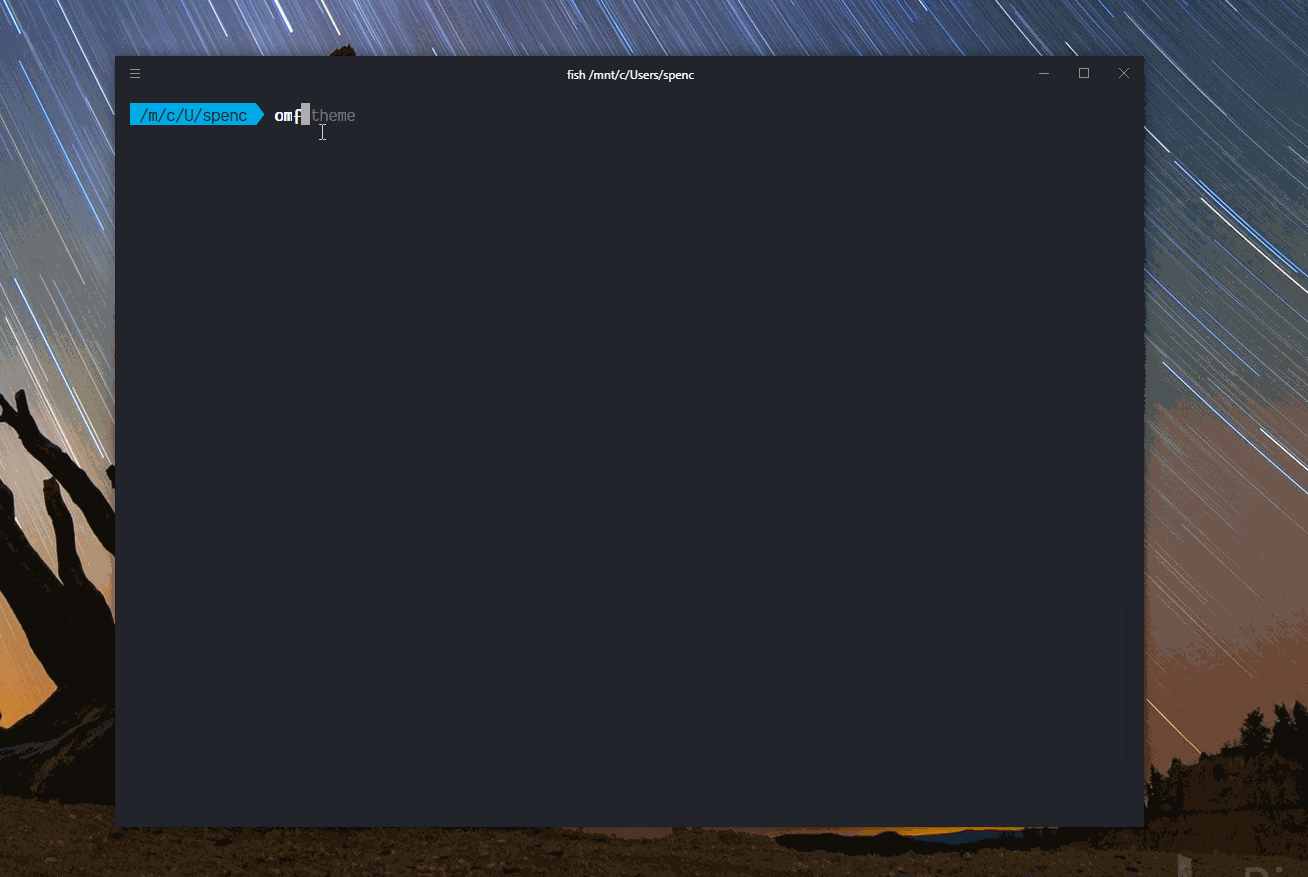
Have a play around there’s loads there, I prefer the one theme because you can see what version of node you’re running on, over on the far right. Here you can also see the intellisense for fish where it shows agnoster as a previous selection, if I wanted to select agnoster I could tab to complete the rest of the command.
Configure
So, now we have a swanky looking new terminal and a bare-bones VS Code install it’s time to get things moving.
I have a cheat-sheets repo detailing a lot of the configuration we’re about to go through here, if you find something useful along the way please drop a PR with the suggestion.
First up, in place of typing out fish each time I open a new
terminal, and not replacing bash which you can do, but I prefer to use
an alias. So what we’re going to do is open up the .bashrc file and
edit it.
From a new terminal type in nano ~/.bashrc, nano is a bash text
editor. Scroll (or Page) down to the bottom of the file and add in an
alias for fish, alias f=fish then to exit nano Ctrl+x and confirm
changes with a y. Reload the .bashrc file like we did after using
n to install Node . /home/scott/.bashrc but your username in place
of mine 😄, now we can use f instead of fish! Well done you saved
yourself typing three extra characters!!!.
Git config
Before we crack on with spinning up a Create React App instance we’re
going to need to configure Git, via the .gitconfig file.
We’re going to use nano to add some settings for Git, both in WSL and Windows, this is the extra config I mentioned earlier, apologies!
First up we’ll config our bash environment then move onto Git bash on Windows.
# open up the .gitconfig file in WSL bash
# nano will create one if it doesn't exist
nano ~/.gitconfig
It’s nearly identical config for both environments apart from Windows
uses the credential manager helper and WSL will need the cache helper.
# needed in Git Bash for Windows
[credential]
  helper = manager
# needed in WSL
[credential]
  helper = cache
[color]
  ui = true

[user]
  name = yourGitHubUserName
  email = [email protected]

[core]
  editor = code --wait
Make your changes then Ctrl+x to exit and confirm with y, that’s the first part of the Git config done.
In Git Bash for Windows do the same in the terminal, use nano to
create a .gitconfig file and add the setting to it.
Create React App
Ok, we shall get create react app going so we can get Git configured with GitHub using SSH and start making changes to commit to a GitHub repo.
We’re going to use npx to make a starter React project with Create React App. If you want to have your projects somewhere else now is the time to navigate to that directory.
From the terminal enter:
# this will create a starter react project
# called create-react-app
npx create-react-app create-react-app
This is creating the project in my home (~) folder, I’ve had to
speed the gif up to 20x faster, it does take a while.🙃
Wheeeeeeeeeeeeeeeeeeeee!
So, now that we have spun up a React app to work on we should make a change and then add it to GitHub.
Navigate to the create-react-app folder in the terminal and open the
project. You can open VS Code with the code . command, the . denotes the current folder in the terminal.
This will open VS Code at the root of the create-react-app project, make sure everything is working as expected by running the start script in npm.
npm run startIf you want to see what scripts are available in the current project
you can also use npm run which will list defined npm commands from
the package.json file.
A window will open displaying the basic Create React App landing page,
we’re going to add a h1 to the App.js module then commit it, via the
Source Control menu in VS Code.
Please bear in mind this is an up and running guide for a development environment, I’m not going to be detailing developing in React
Whilst the terminal is busy starting up the create-react-page we can
open another tab in Hyper with Ctrl+Shift+t and open up VS Code with
the code . command, navigate to the App.js component and add a <h1> tag to it just above the <img> tag with <h1>Hello React!</h1> in it.
Now the landing page should show the newly added h1, we can confirm
that the file is changed in Git by doing a git status from the
terminal. Then we can commit it from either the terminal or the IDE
(VS Code) my preference is to use VS Code as the visual diffing of
files is great.
Commit the changes with Ctrl+Enter if you have not selected the file
you want to commit you wil get a dialogue telling you there are no
staged changes to commit, you can select the files (in this case only
the App.js file) by clicking the plus next to the file. Hitting
Ctrl+Enter again will commit the changes with a message, you can check
that there are no changes to commit with git status from the
terminal or visually from the Source Control section in VS Code.

Ok, time to add our super sweet code changes to a repository on GitHub for the world to see!
Next up we’re going to go through adding the local changes we’ve made to a GitHub repository. If you haven’t got a GitHub account and are following along now may be a good time to set one up.
Use SSH with GitHub
First up, we’re going to make a repository on GitHub and push the changes we have made to it, here we’re going to click the + button in the top right of the GitHub home page, enter a repository name and GitHub will give you some defaults to choose from. As we have already made change locally we can ignore the first several commands but we do need the command to add the remote:
git remote add origin [email protected]:spences10/cra.gitAnd to push the changes up to GitHub git push -u origin master but
we’re going to get an error, as we haven’t set up SSH.
WSL SSH Config
Open a new bash tab in Hyper and enter ls -al ~/.ssh check that
there are no rsa files before doing this.
You’ll notice that we’re doing this in bash rather than Fish.
If there’s nothing there then generate new keys with:
# add your email address 👍
ssh-keygen -t rsa -b 4096 -C [email protected]
Now ls -al ~/.ssh will show two additional files:
# there should be a private and public key-pair
id_rsa
id_rsa.pub
Start the SSH agent:
eval "$(ssh-agent -s)"Add RSA key to SSH with:
ssh-add ~/.ssh/id_rsaNow time to add the public SSH key to GitHub, in WSL were going to
copy pasta the public SSH key with cat ~/.ssh/id_rsa.pub in Hyper
then we can copy from Hyper to a new SSH key.
Finally authenticate with GitHub:
ssh -T [email protected]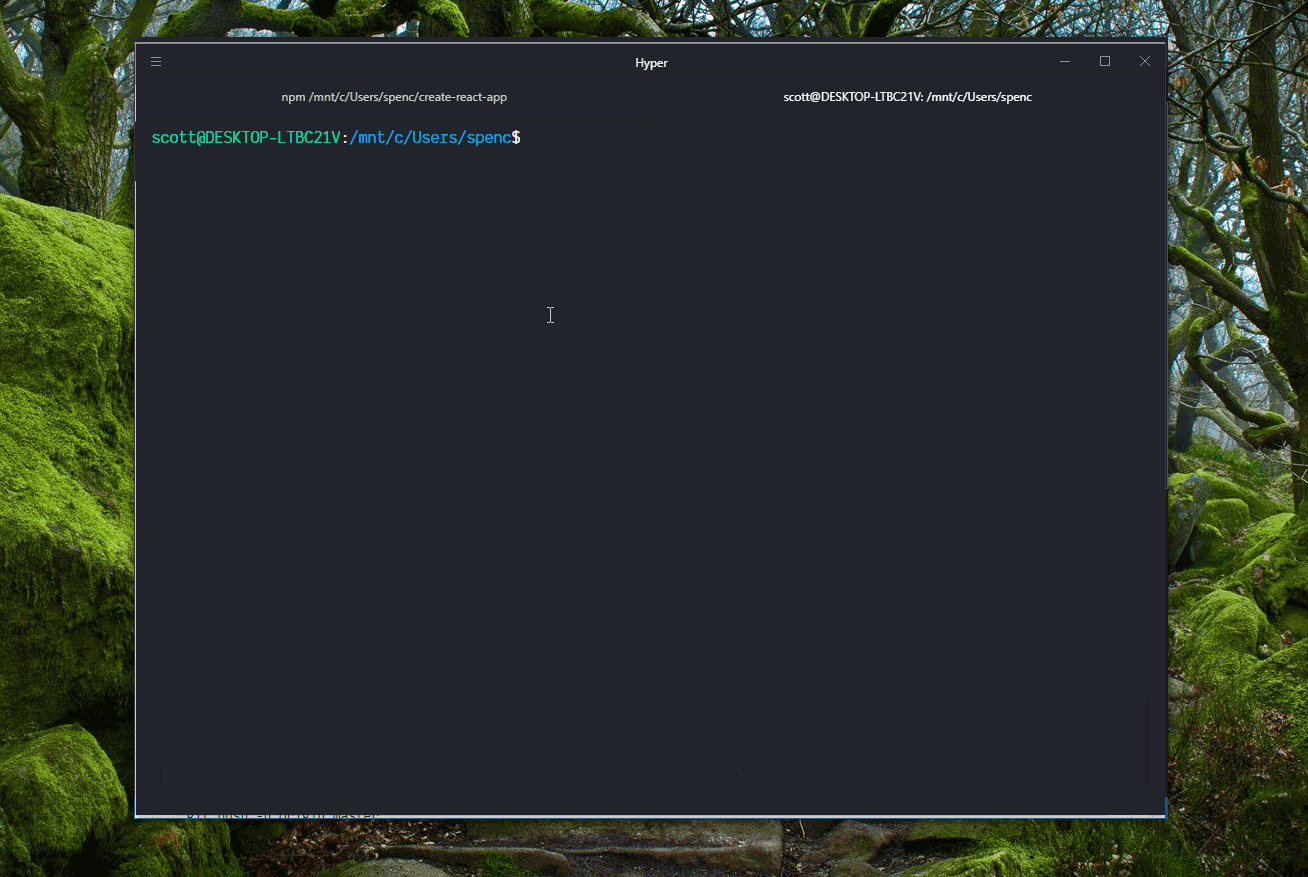
Windows Git Bash SSH Config
For Windows Git Bash we’re going to copy our SSH keys we’ve just generated in WSL over to Windows Git Bash, there are some subtle differences when authenticating with Windows Git Bash.
From Hyper, copy the SSH files from Linux to Windows:
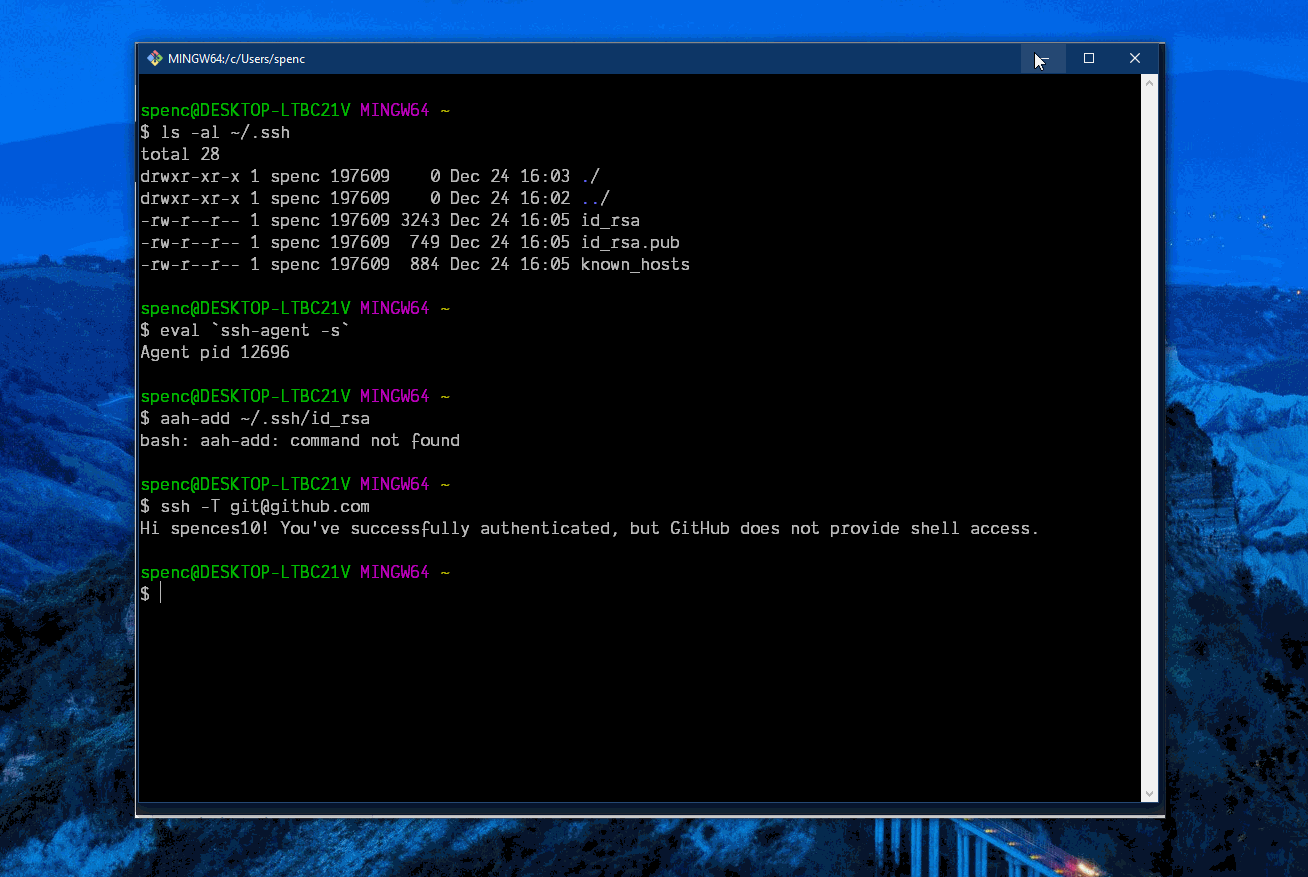
cp ~/.ssh/* /c/Users/spenc/.ssh/Start the SSH agent:
eval `ssh-agent -s`Add the key to SSH agent:
ssh-add ~/.ssh/id_rsaAuthenticate:
ssh -T [email protected]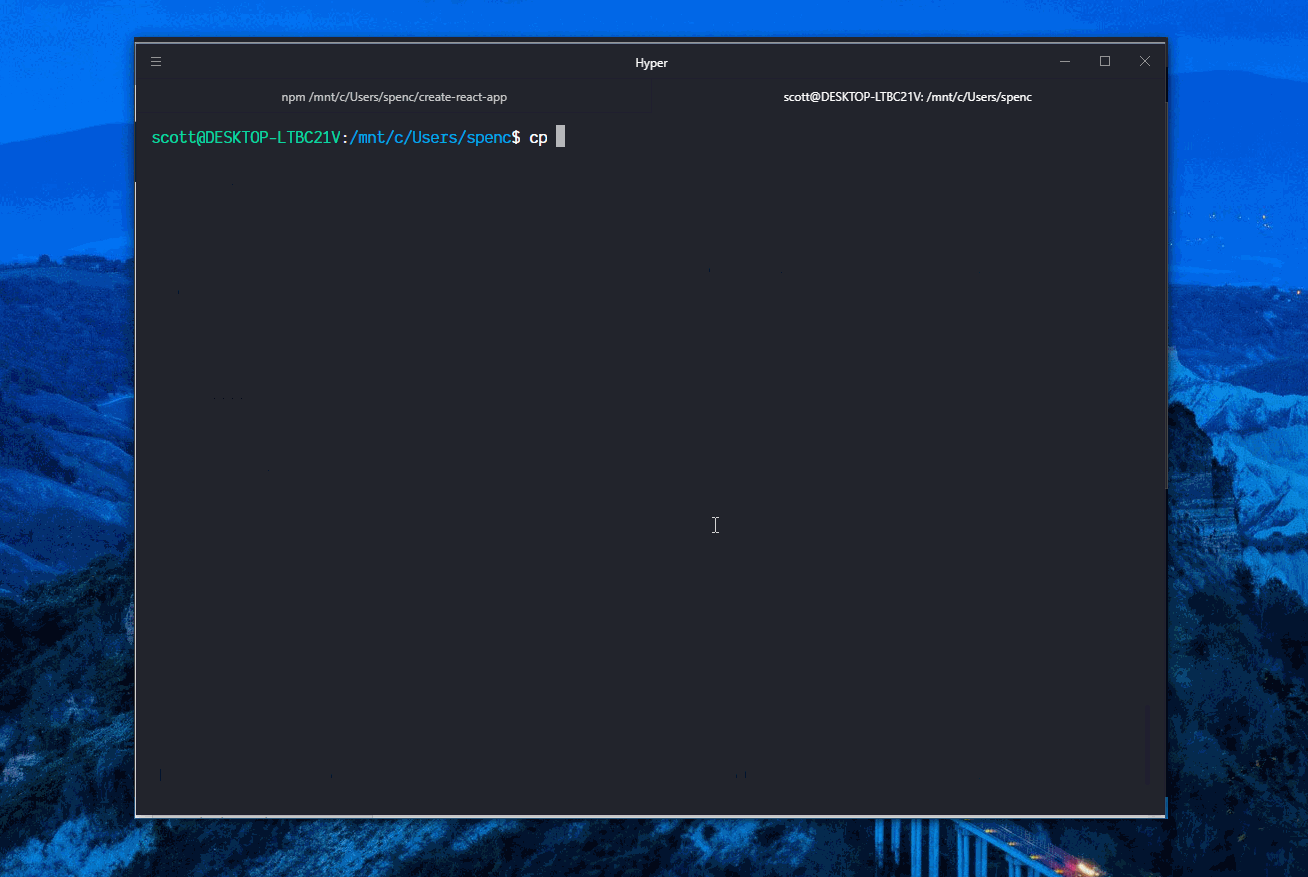
Now the additional set up for SSH is done we should be able to go back to Hyper and push our change to GitHub.
Also you may have noticed that the SSH Key 🔑 token went from black to green on the settings screen there this indicates that you have authenticated.
Change WSL version
If you want to use a different version of Ubuntu, Debian or any of the other available distributions of Linux from the Windows store with Hyper you will need to change the default version from PowerShell:
# list available versions
wslconfig /l
# set default
wslconfig /setdefault Debian
Wrap up!
That’s it! We have gone from scratch to a functioning web development
environment. There are several other personal things I’m now going to
add to my install now which is aliases for both Git and Fish shell. If
you are interested in them I have a cheat-sheet for Fish with a list
of all my aliases I use, the same for my .gitconfig you can find
that in my dotfiles repo
Thanks for reading 🙏
Please take a look at my other content if you enjoyed this.
Follow me on Twitter or Ask Me Anything on GitHub.
There's a reactions leaderboard you can check out too.
Sign up for the newsletter
Want to keep up to date with what I'm working on?
Join other developers and sign up for the newsletter.
I care about the protection of your data. Read the Privacy Policy for more info.