My First PC Build
I built my first PC, here’s how it went and what I learned.
Up until recently I was very happy with my home computer, which was an ASUS Transformer Pro T304UA.
That was until the CPU fan started grinding against the internals, this caused the CPU to heat up more making the fan spin faster to try cool it causing an even louder grinding noise.
Why get a PC?
The situation with my ASUS Transformer sort of forced the issue this time but I have historically gone with a laptop, before the Transformer I had another ASUS laptop with an i5 processor and 8GB of RAM which was lasted me from ~2013-2016.
I’d been looking at building my own PC for some time, I have a Google Sheets, sheet which shows as last edited May 4th 2013 😮
For me there’s always been the unknown of whether the parts will fit together as you’re spending a fair bit of money on what feels like a gamble.
There’s also the portability argument, as you can’t really take it with you easily, the reality was for me however that both prior machines never left the house as they were plugged into a monitor keyboard an mouse all the time.
Replacement parts
Regarding the fan on the Transformer, it’s a sealed unit making a part replacement something I’d either have to get specialist tools for or send it off somewhere to be serviced.
After watching YouTube tear down videos I decided against attempting a repair myself.
The first half of the video is getting the adhesive loose with a heat gun, the rest was trying to remove screws and clips with one hand whilst holding the screen that is connected main unit with the other hand.
I decided that I didn’t want to be in this position again.
What do you want to do with it?
The first question a lot of seasoned PC builders will ask in response to you saying you want to build a PC is “what do you want to do with it?”
For me it’s mainly code, some streaming and video editing. That helps determine the hardware you’ll need.
Massive thanks to my Twitter friend James McAllister for helping me fine tune my final selection of parts.
What type of aesthetic do you want?
I have no room to spare for a large tower PC so I decided to go with a Mini ITX compatible case.
The case you choose will be a determining factor in the parts you can have in there.
PC Part Picker
Enter PC Part Picker this site is a MASSIVE help when it comes to picking compatible parts for your PC build.
This was my guide when I came to picking parts and building my system. There are loads of completed builds where enthusiasts and beginners just like myself would post their completed builds and corresponding parts list on PC Part Picker.
If there is a specific system you have in mind chances are someone has already built it and posted their completed build here.
Here’s a couple of Intel builds I’d put together a few years ago without putting a great deal or research into the parts I was going to use. They centred around an i3 with differing motherboards and GPUs, see the compatibility warnings on them.
Decide on what to get
So, I had a shopping list of things I needed to get.
From the many YouTube videos I watched there are seven essential items needed to build a PC, these are:
- CPU
- CPU cooler
- Motherboard
- Memory (RAM)
- GPU (Graphics Processing Unit)
- Storage (onboard memory for OS)
- Case
- Power supply (PSU)
I wanted something a bit more powerful than the Inter Core i7 (two cores, four threads) that was in the ASUS Transformer, with a bump to the 16GB of RAM it had.
From watching YouTube a lot I found that AMD was leading the way in CPU performance per £ and the Ryzen chips where where it’s at right now.
The CPU I chose was the Ryzen 5 2600 3.4 GHz AF the AF although is not officially listed (you have to look for “bb af box” in the listing) this means that it’s the previous generation of one of the higher end chips in the range.
The CPU is a healthy 6 cores (12 threads) quite a bump from the last one!
The Ryzen 5 also comes with a CPU fan included, so saving a bit of money there.
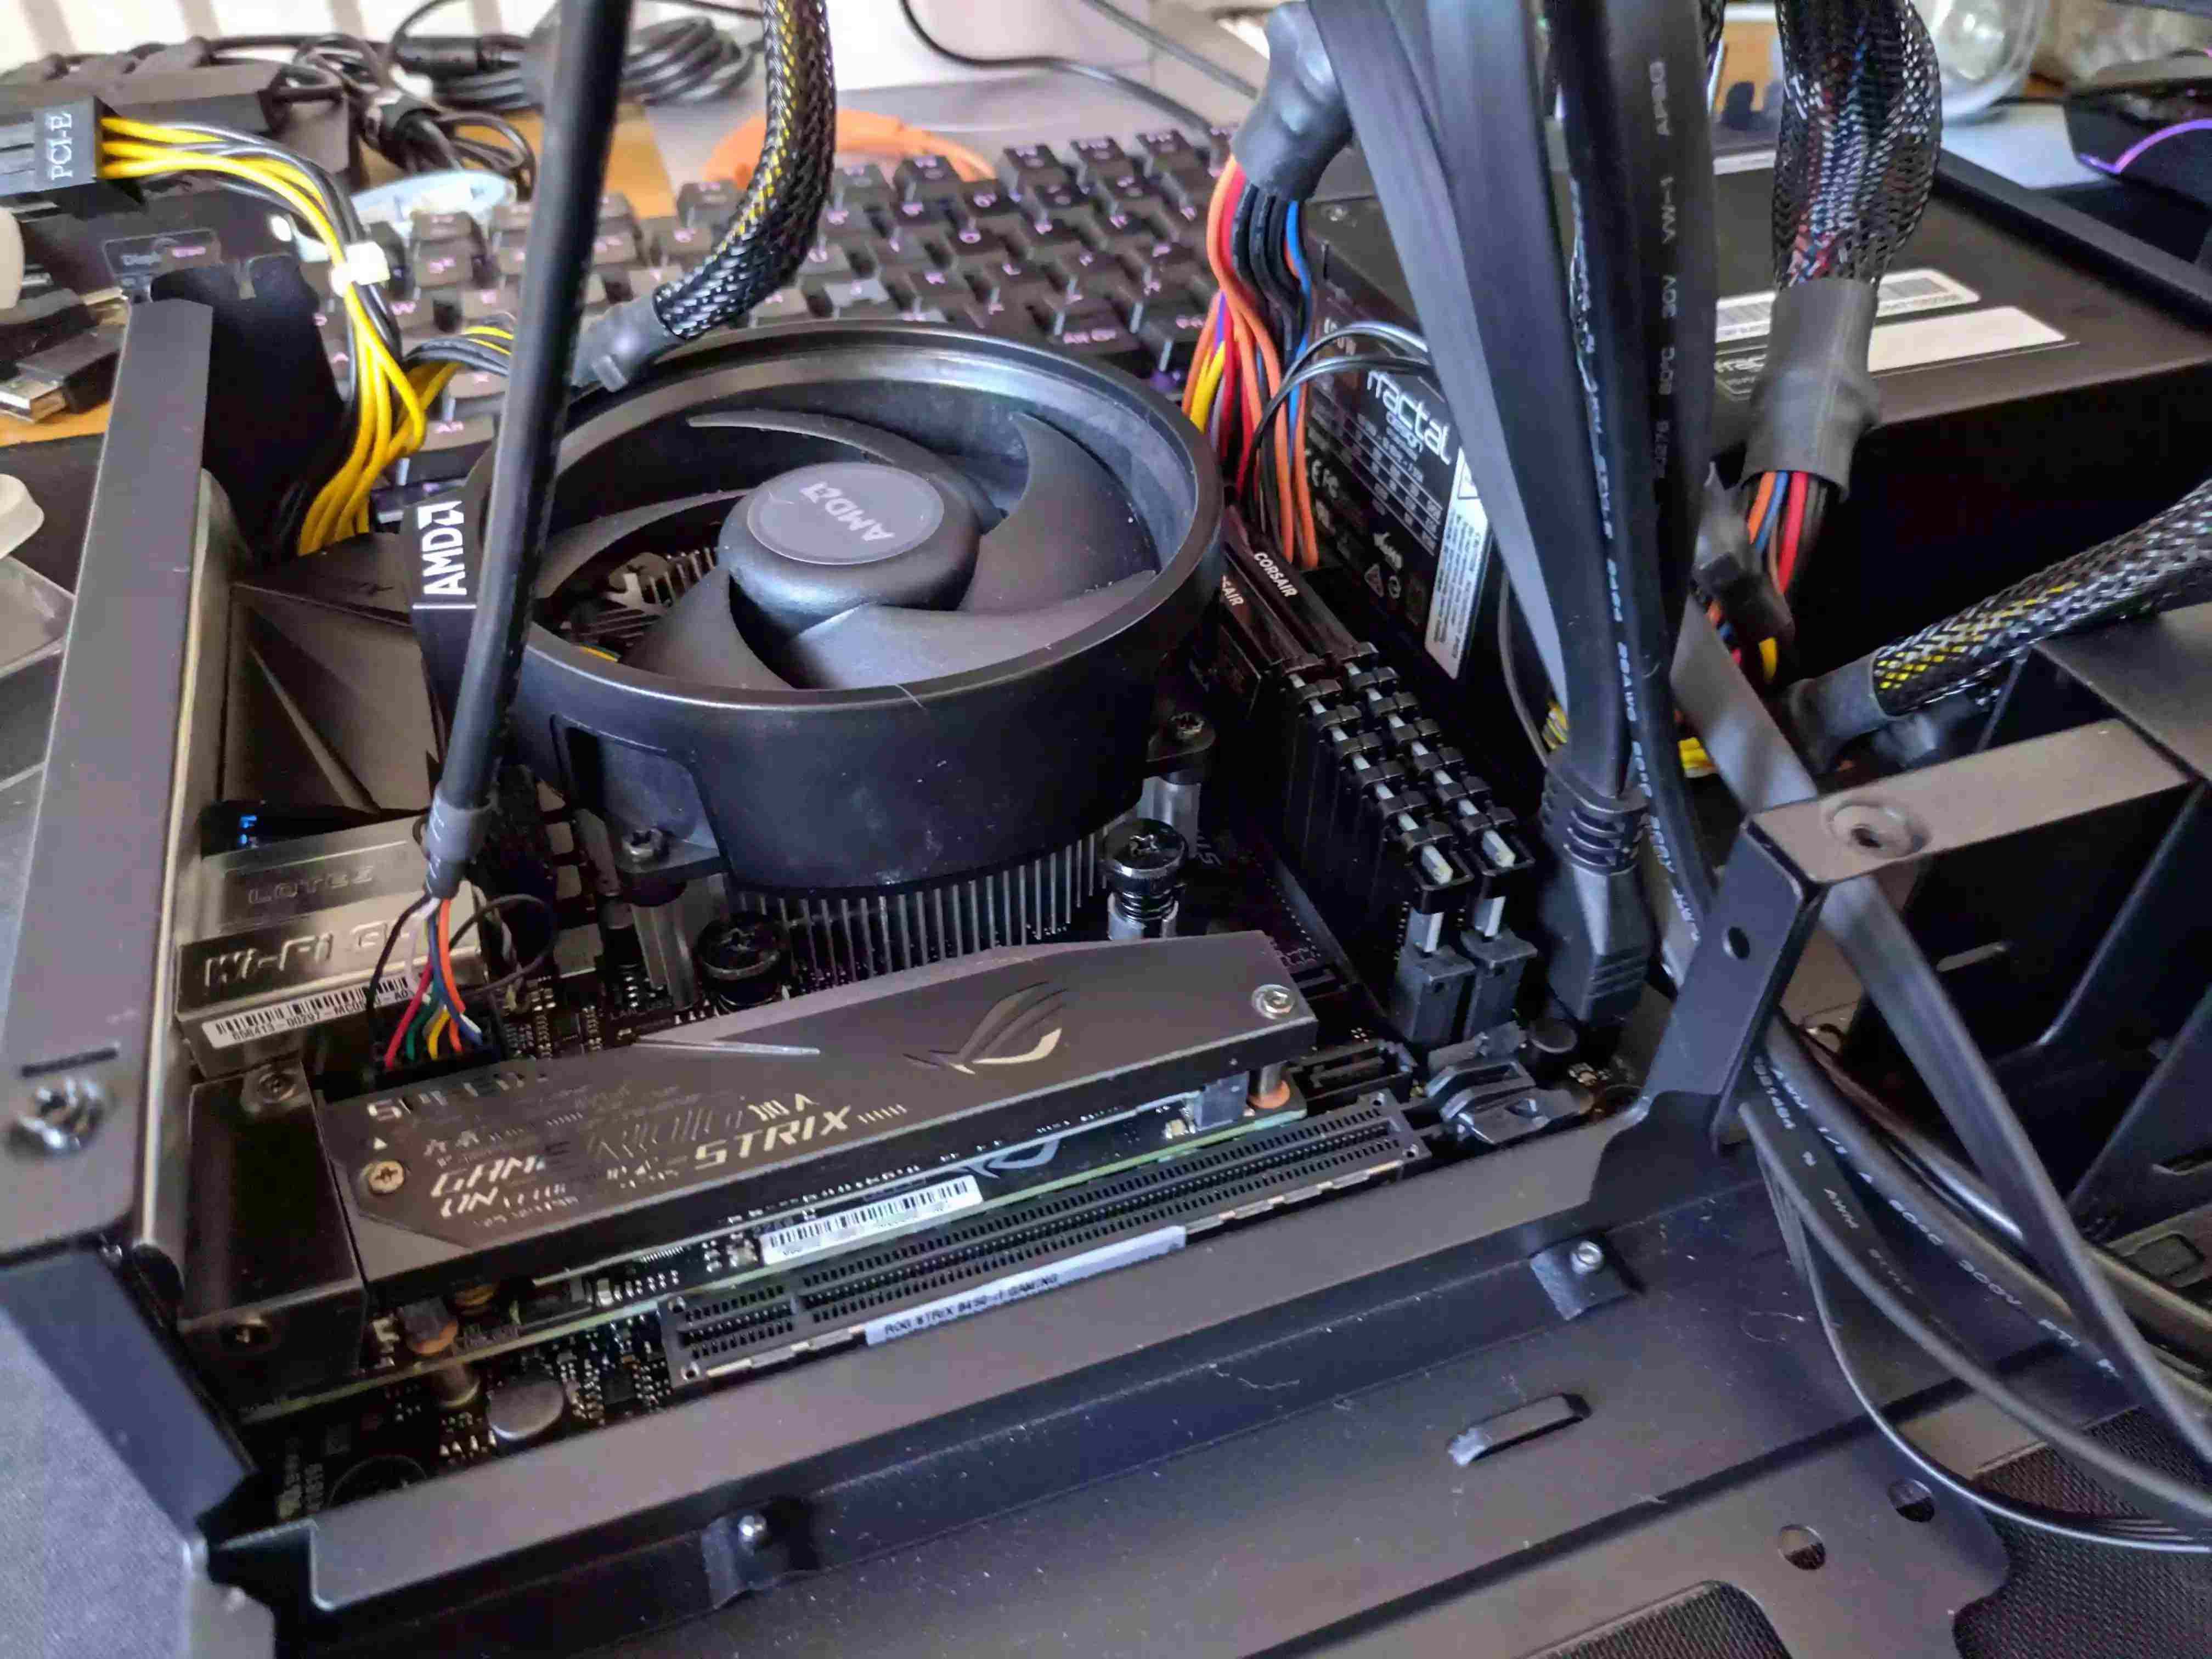
For the Motherboard I went with whatever I could get that would offered some expansion to the memory further down the line so I went with the Asus ROG Strix B450-I Gaming motherboard which has a memory max of 64GB.
Speaking of memory I went with some Corsair Vengeance LPX 32 GB (2 x 16 GB) DDR4-3200 CL16 Memory which is double the 16GB I had prior.
The video card (GPU) was a XFX Radeon RX 570 8 GB Video Card which benchmarked well against a GTX 960 and was reasonably priced.
For the storage I went with a Samsung 970 Evo 500 GB M.2-2280 NVME Solid State Drive, Samsung is renowned for their memory and this drive (M.2) screws directly to the motherboard, which has two M.2 slots available.
The case, although toward the end of the list here was really what dictated the parts I could use. The standout case for me was the Fractal Design Node 202 HTPC Case w/450 W Power Supply this really appealed to me due to the small form factor and the amount of people building with it.
You can also get the Node 202 without a power supply but for the extra £70 I decided to go with the 450w power supply for now.
Watch other people build with your parts
I watched a butt load of people building PCs on YouTube, channels I’d recommend are Paul’s Hardware, Bitwit and of course Linus Tech Tips all with good starter guides on building PCs.
First up is a good build guide on Paul’s Hardware on How To Build a $550 Gaming PC in 2020! not related to the parts I wanted to use but I did get the tip here about the AF version for the CPU.
There’s also another build guide from Bitwit on How to Build a PC! Step-by-step, not related to the parts I wanted to use again but searching YouTube for ”Bitwit Node 202” shows several builds using the case I wanted to use.
This guide really helped by pointing out that there was a video card assembly, which you attach the video card to before inserting it into the case.
This guide was what made me aware that I may be biting off a bit more than I can chew saying it may be a bit of a challenge adding all the parts to the case.
Get the parts
So after binging on Node 202 build guides and not being able to stand the sound of the fan grinding to a halt one more time on my ASUS Transformer any longer I started buying the parts for my shiny new computer.
PC Part Picker is an awesome tool for sourcing your parts, I bought my components from several different suppliers as pricing for parts varied wildly, the case and motherboard I got from SCAN the CPU from Amazon and the Memory, RAM and Graphics Card from CCL.
All parts turned up the next day, which I was amazed about! I love you DPD!
Build the thing
So with all the information I had gleaned from the YouTube I set about putting it together!
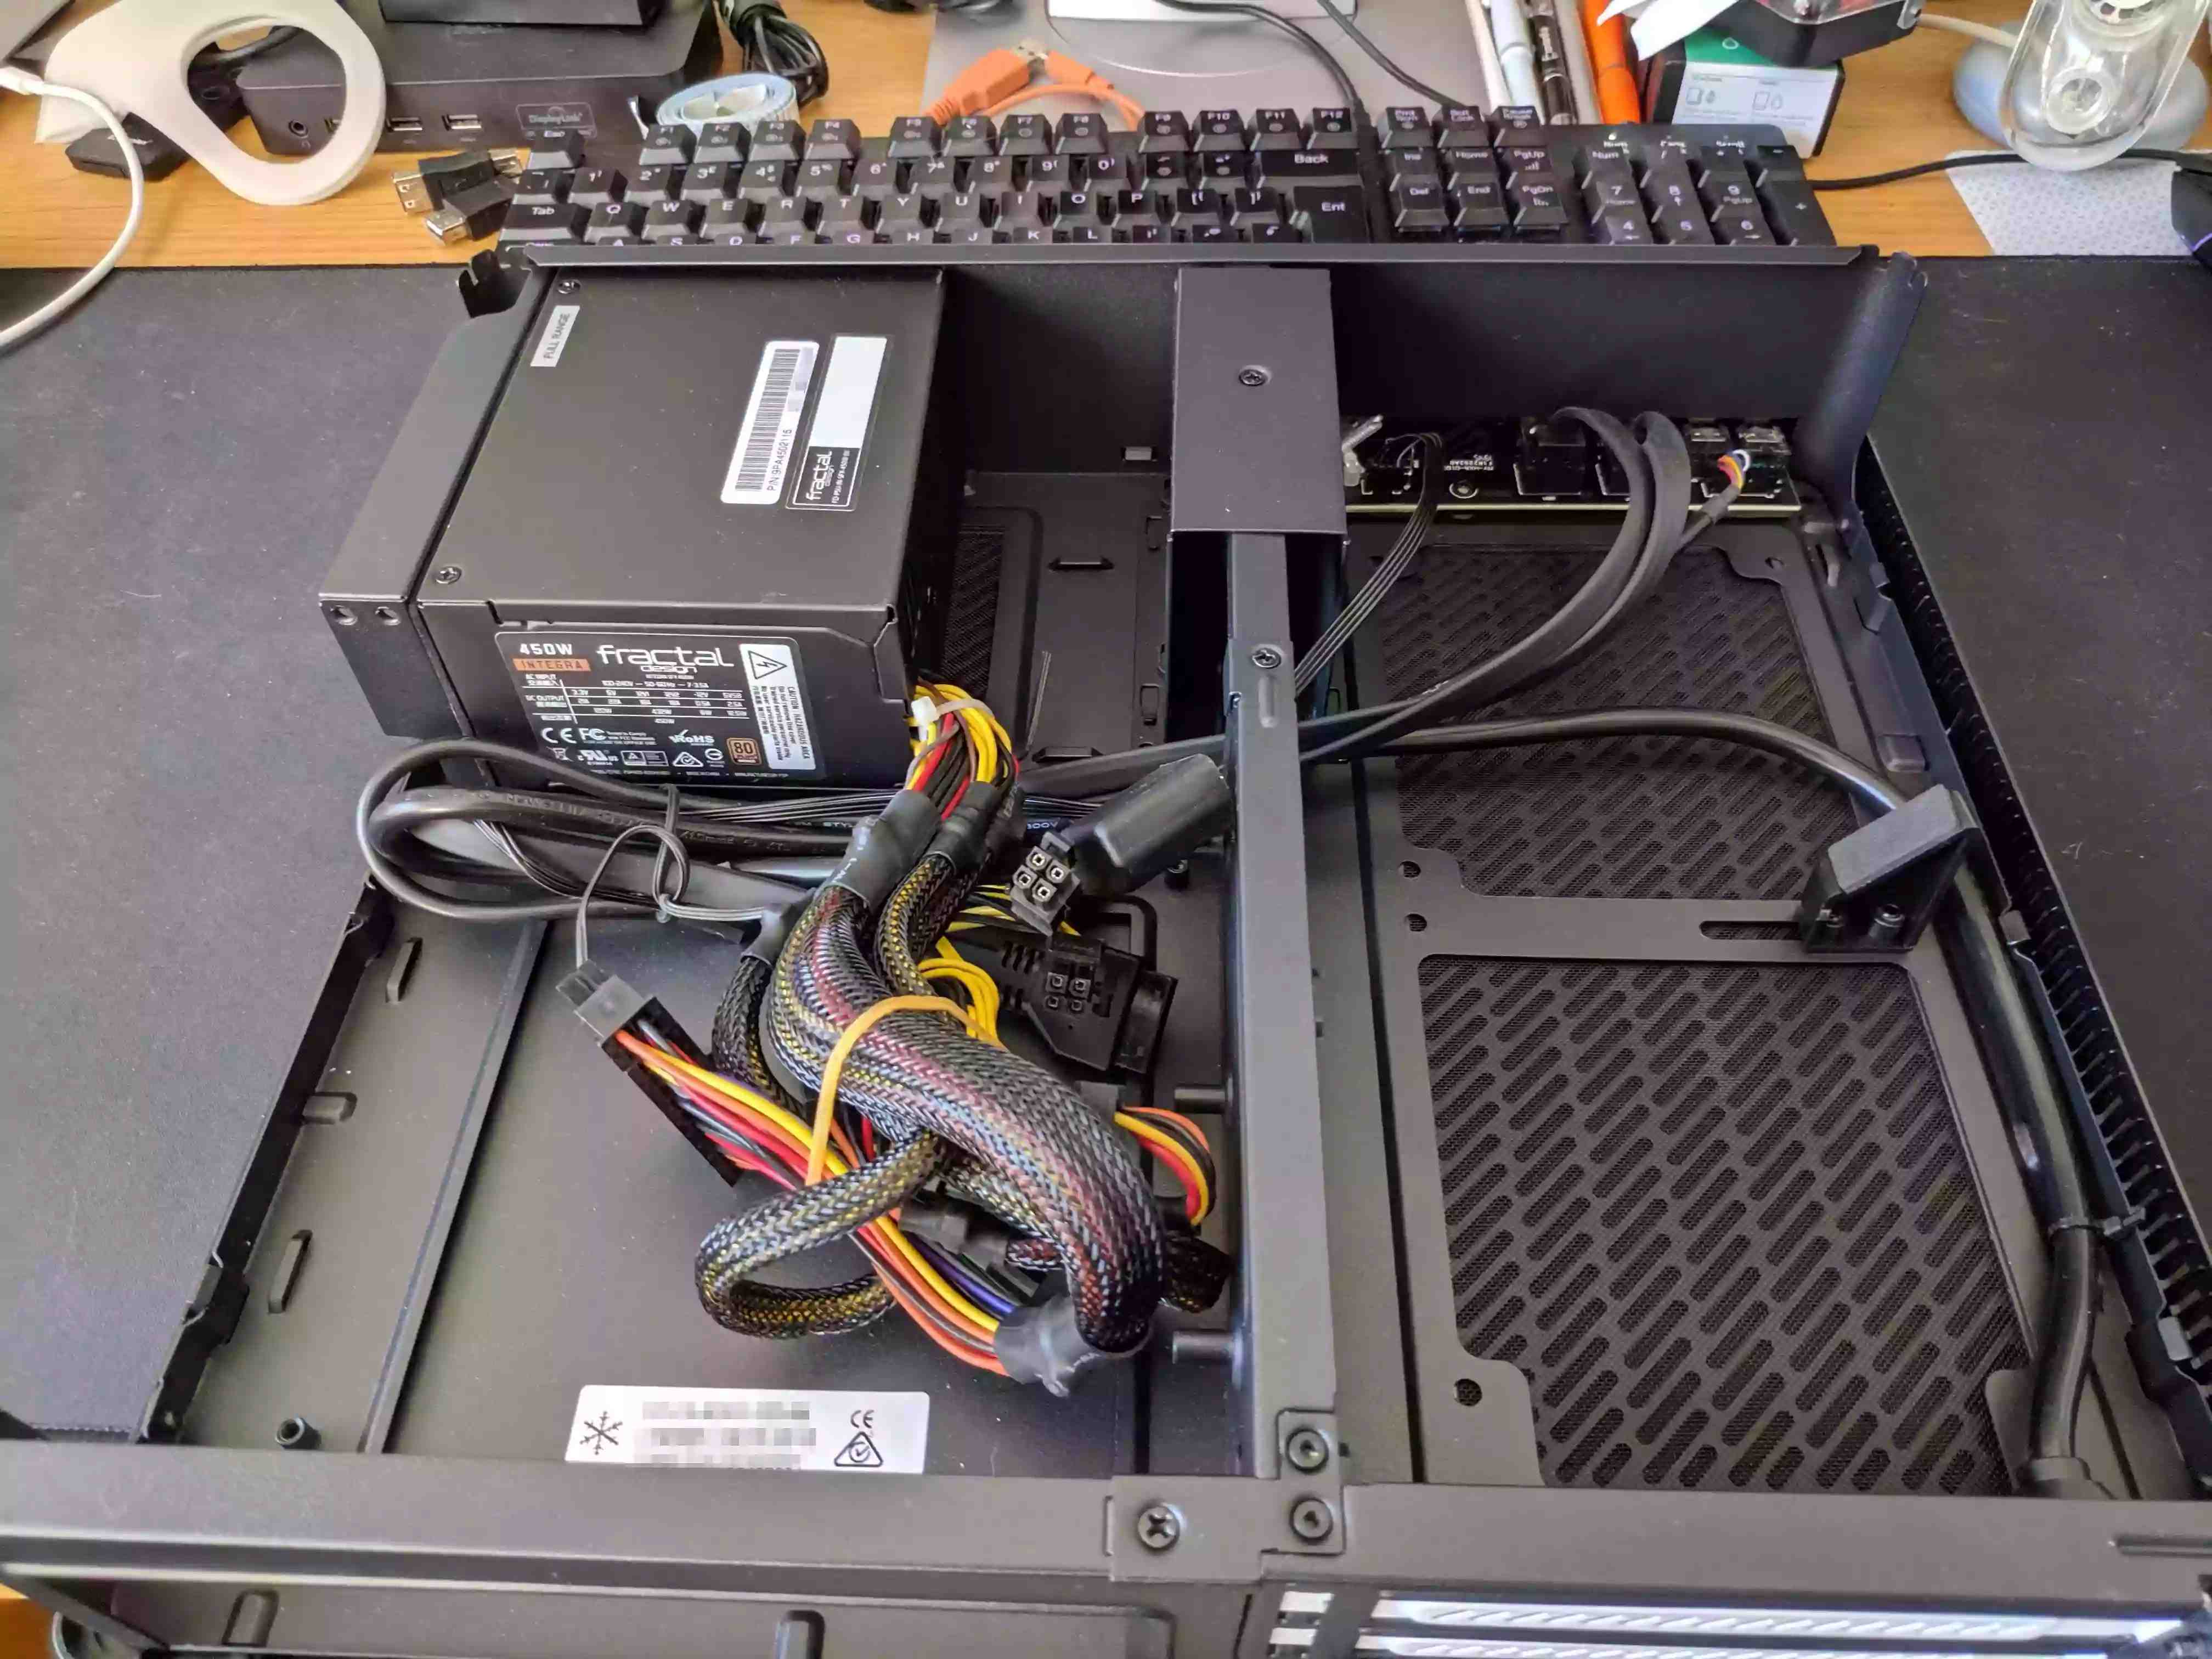
Unbox the case, here you can see the power supply that comes with the case and those yummy looking “ketchup and mustard” cables!
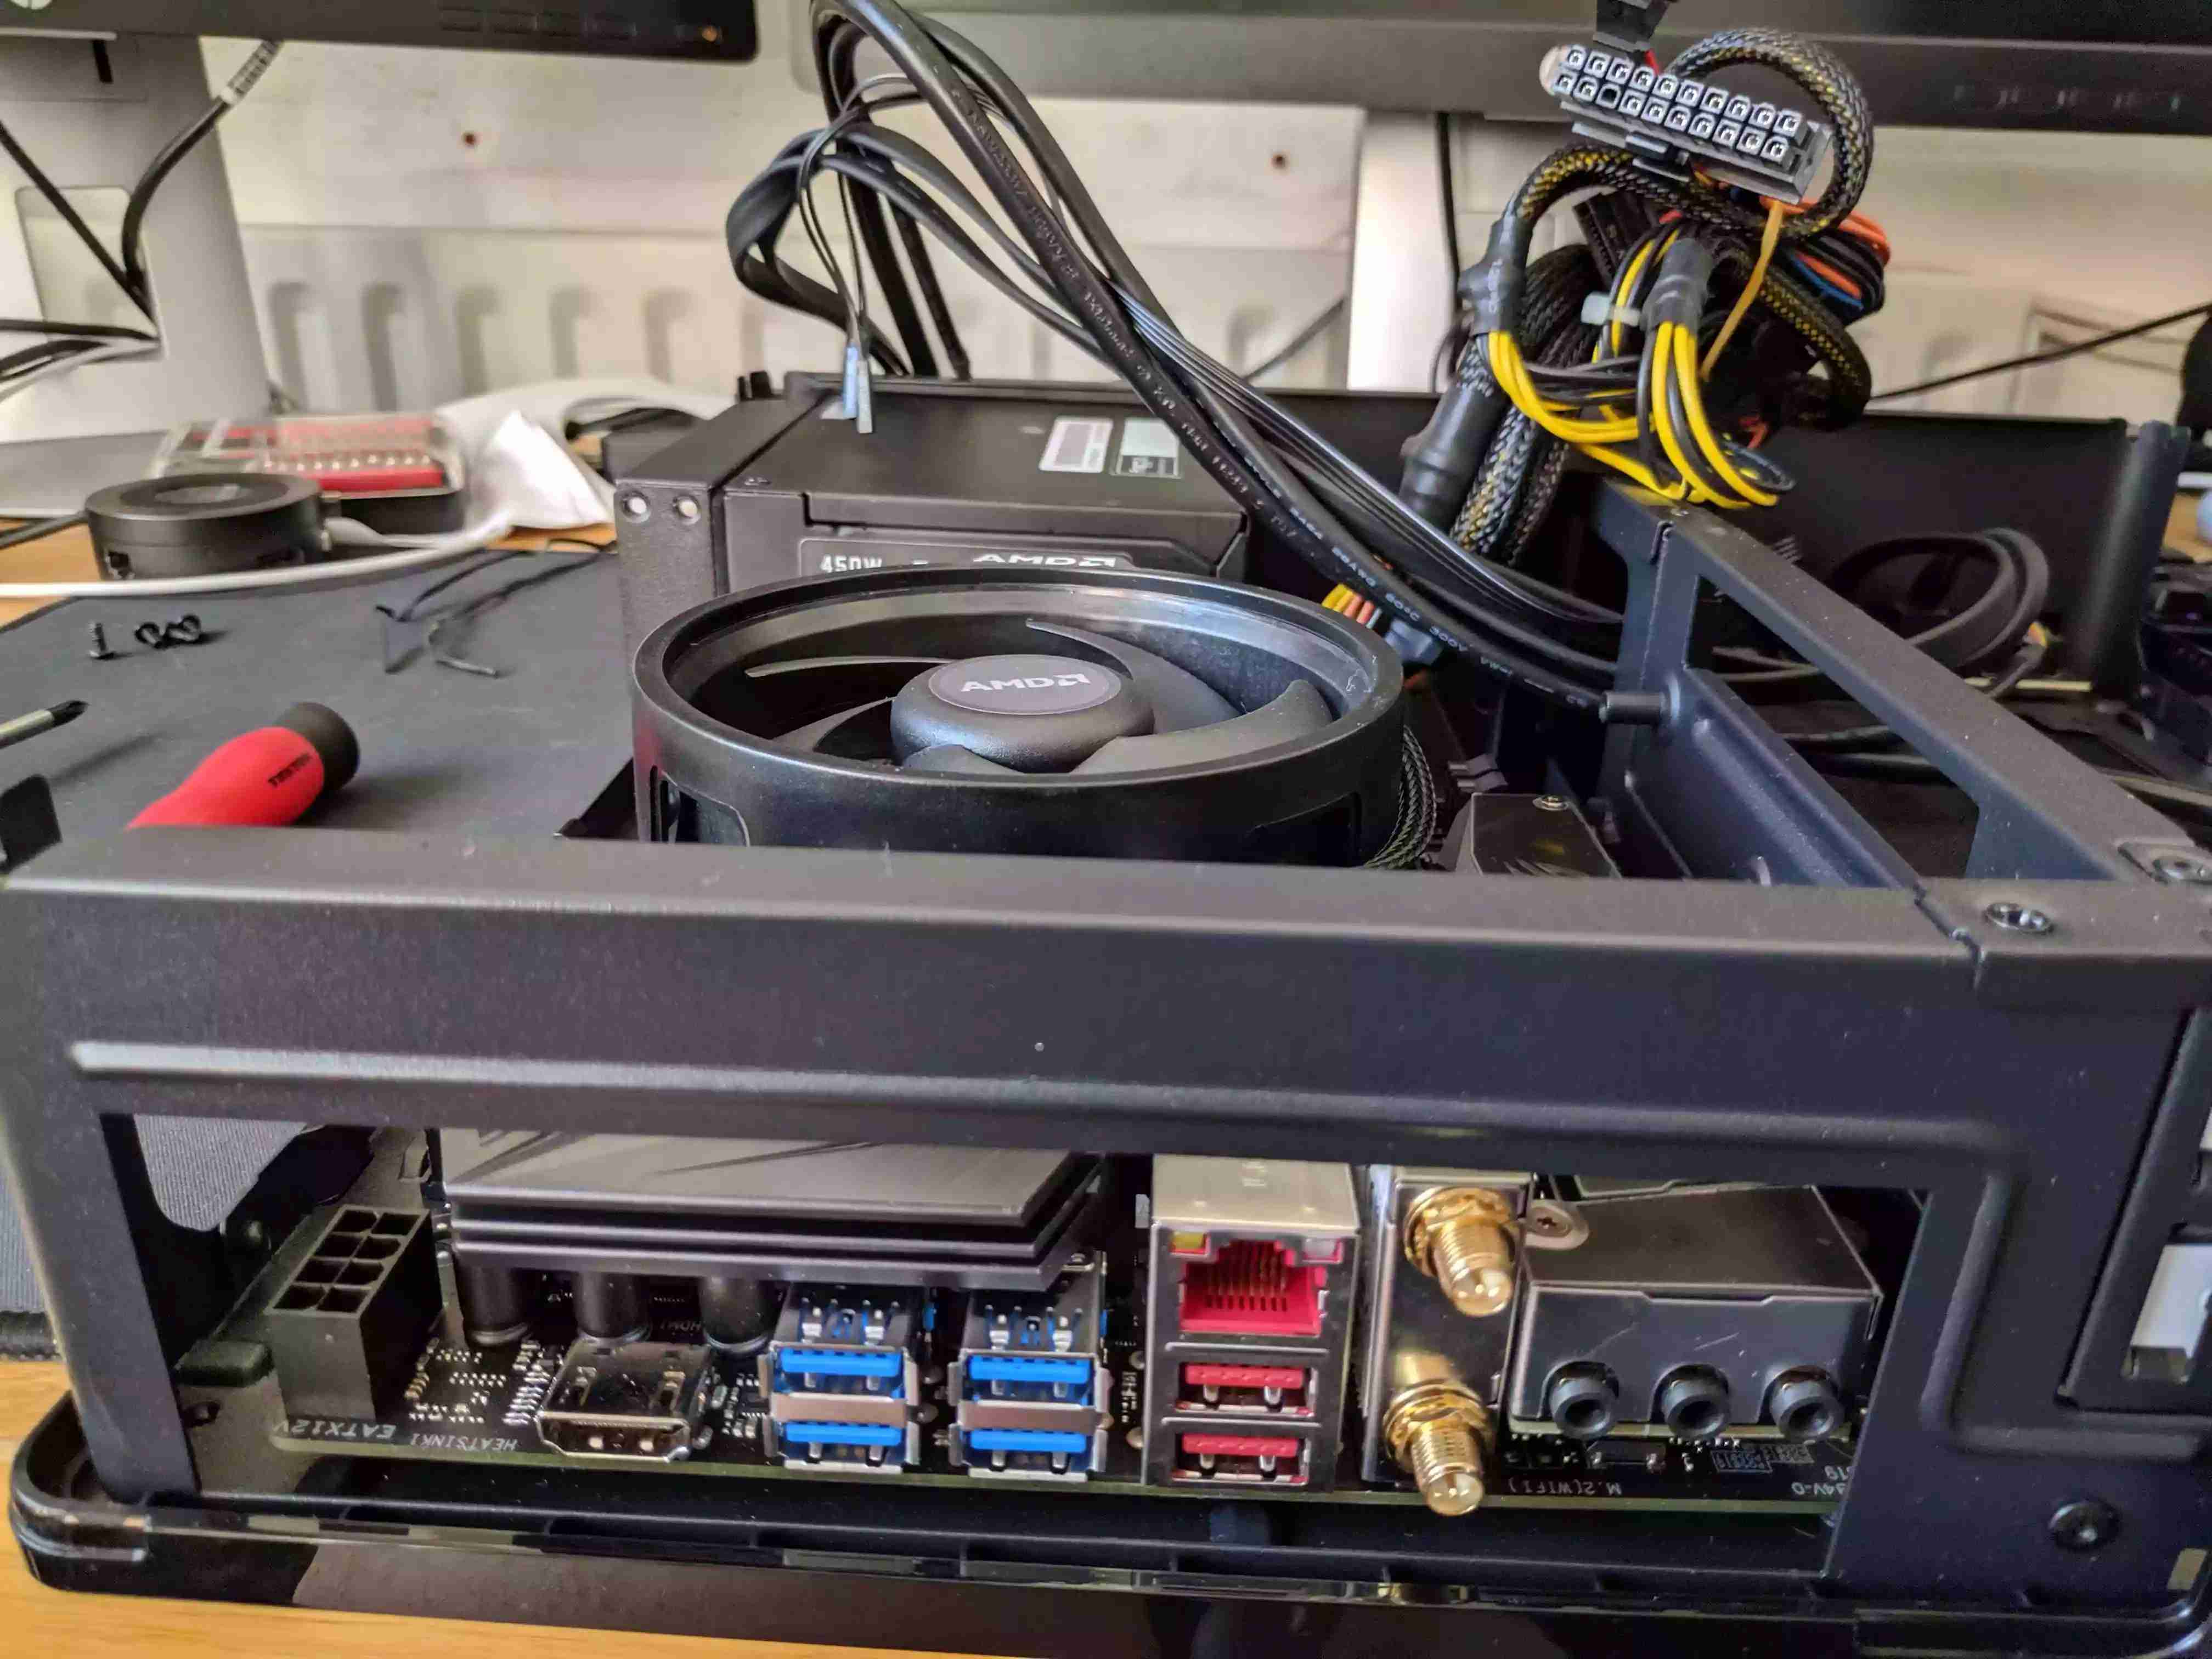
One of the first things I wanted to check before going ay further was the clearance between the CPU fan and the case in case I needed to buy a lower profile fan, thankfully it was clear!
This is when it becomes clear that I have made my first mistake!
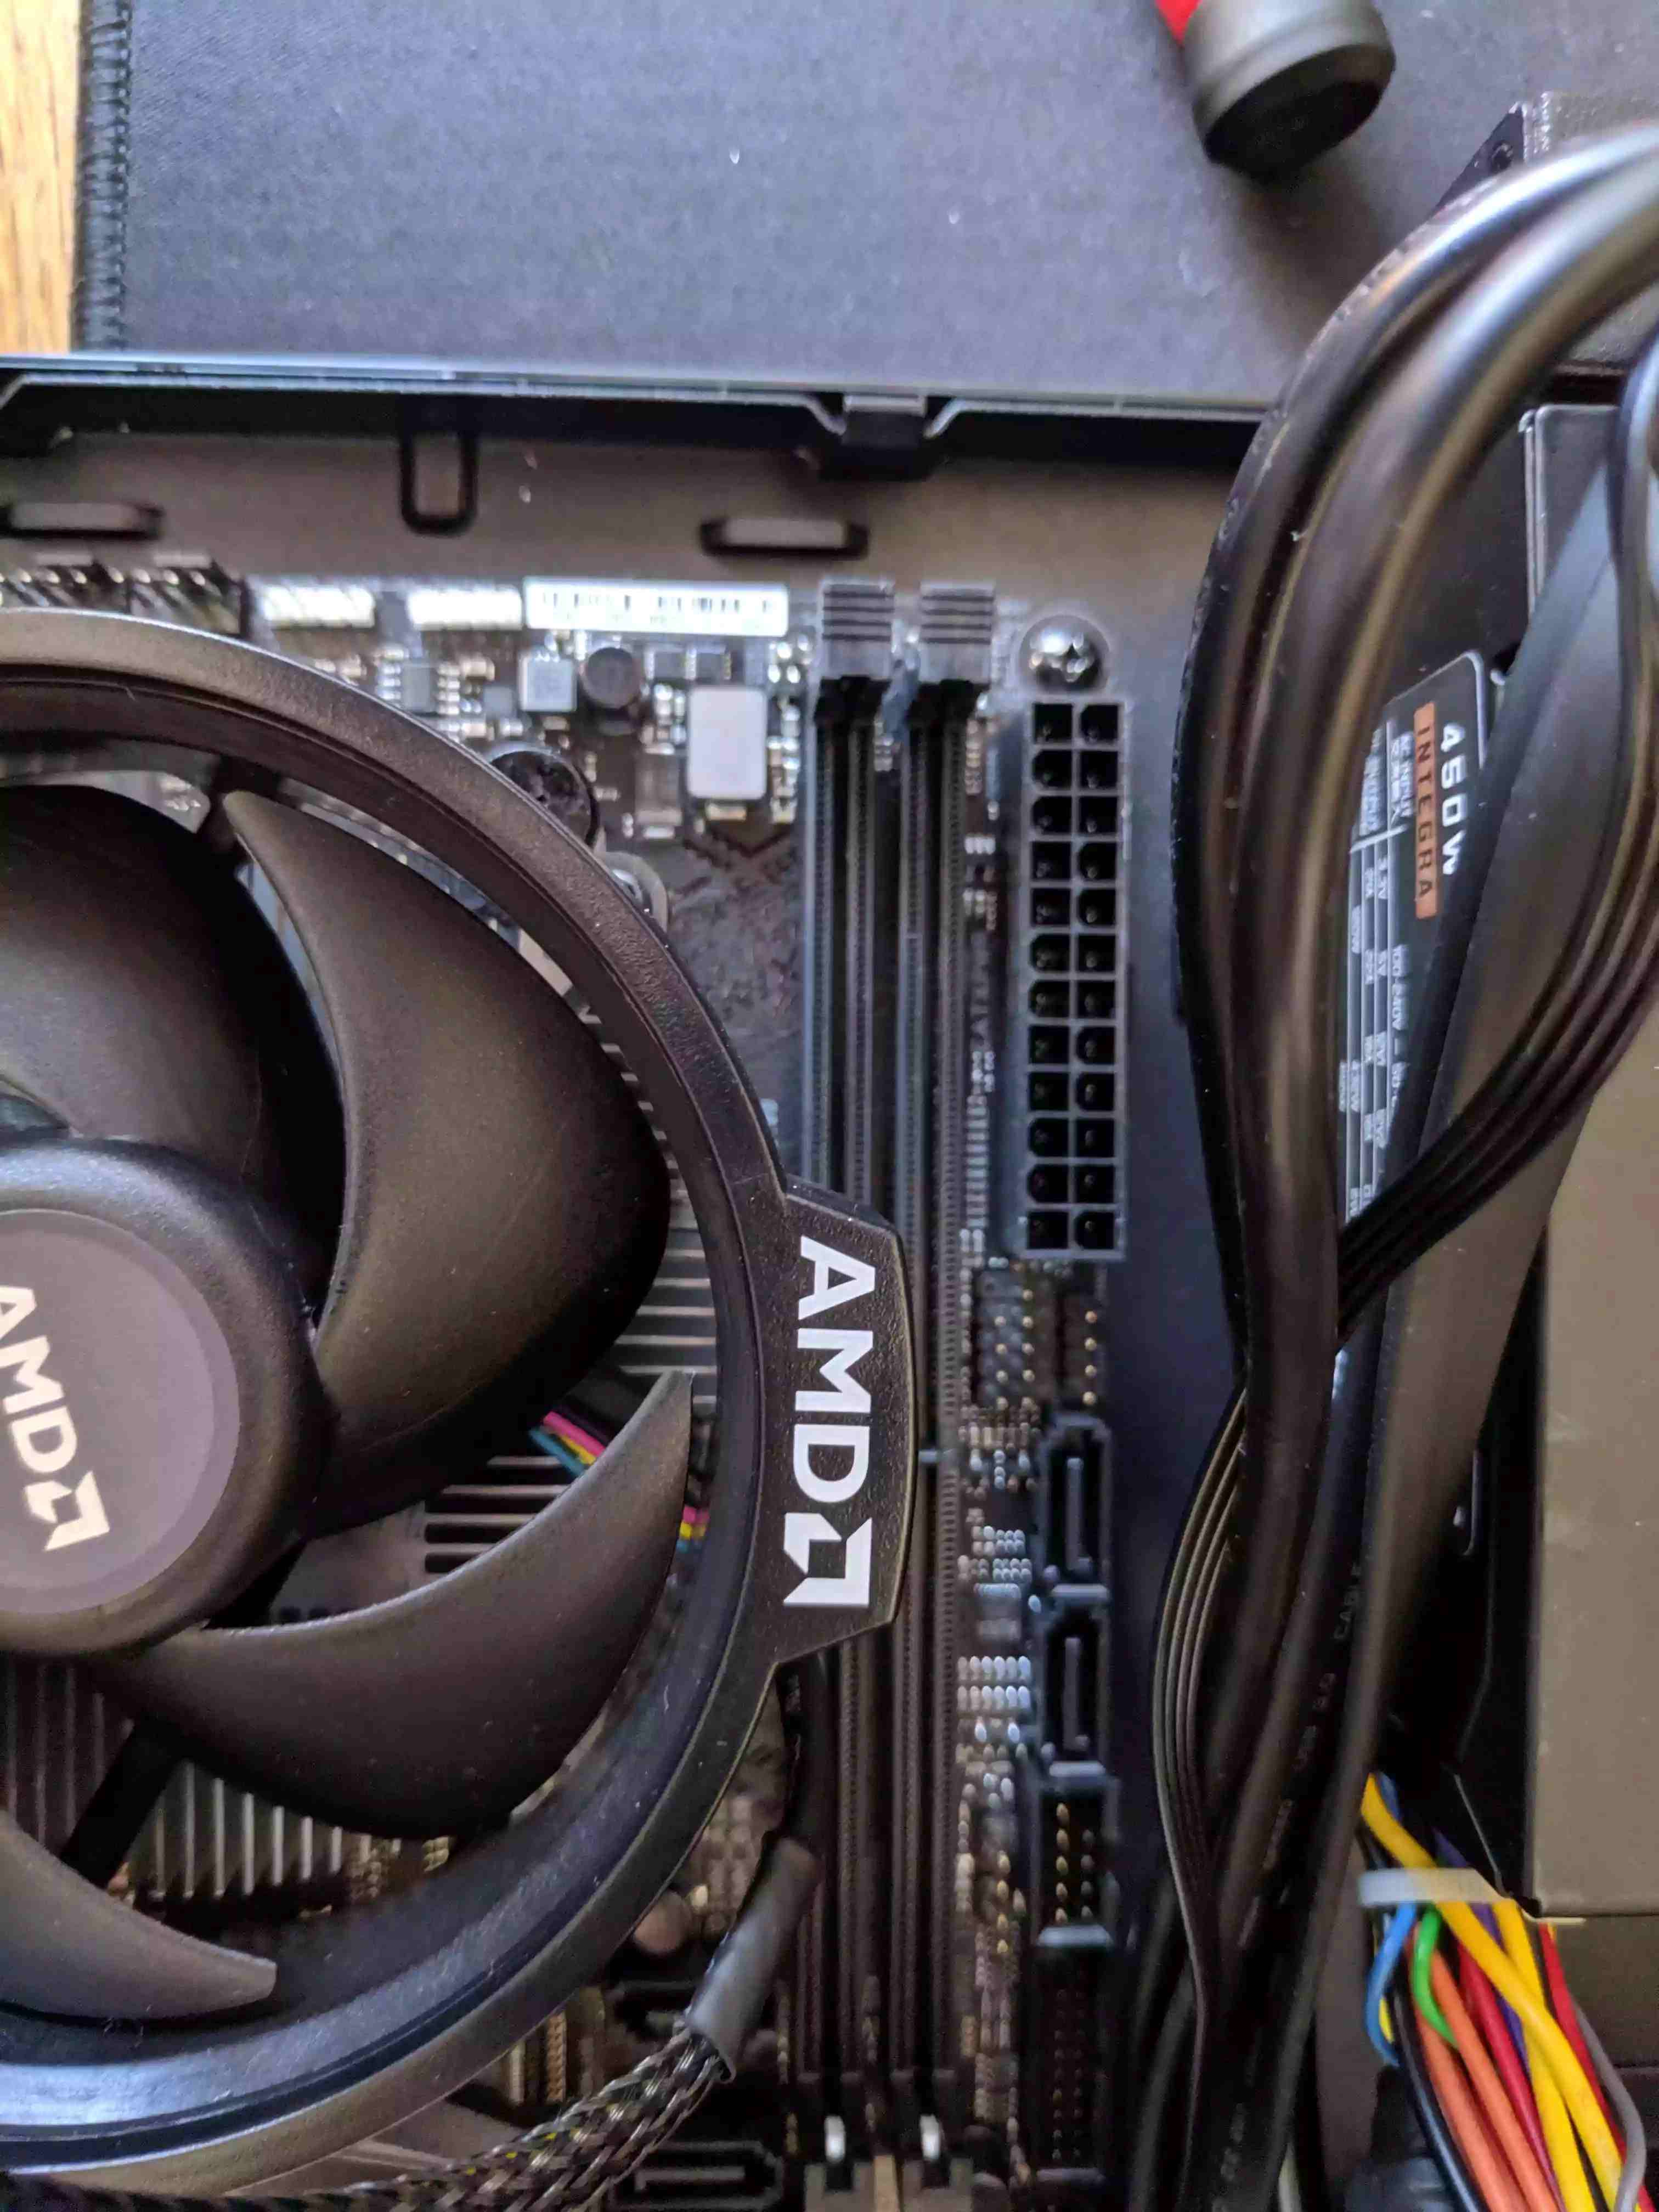
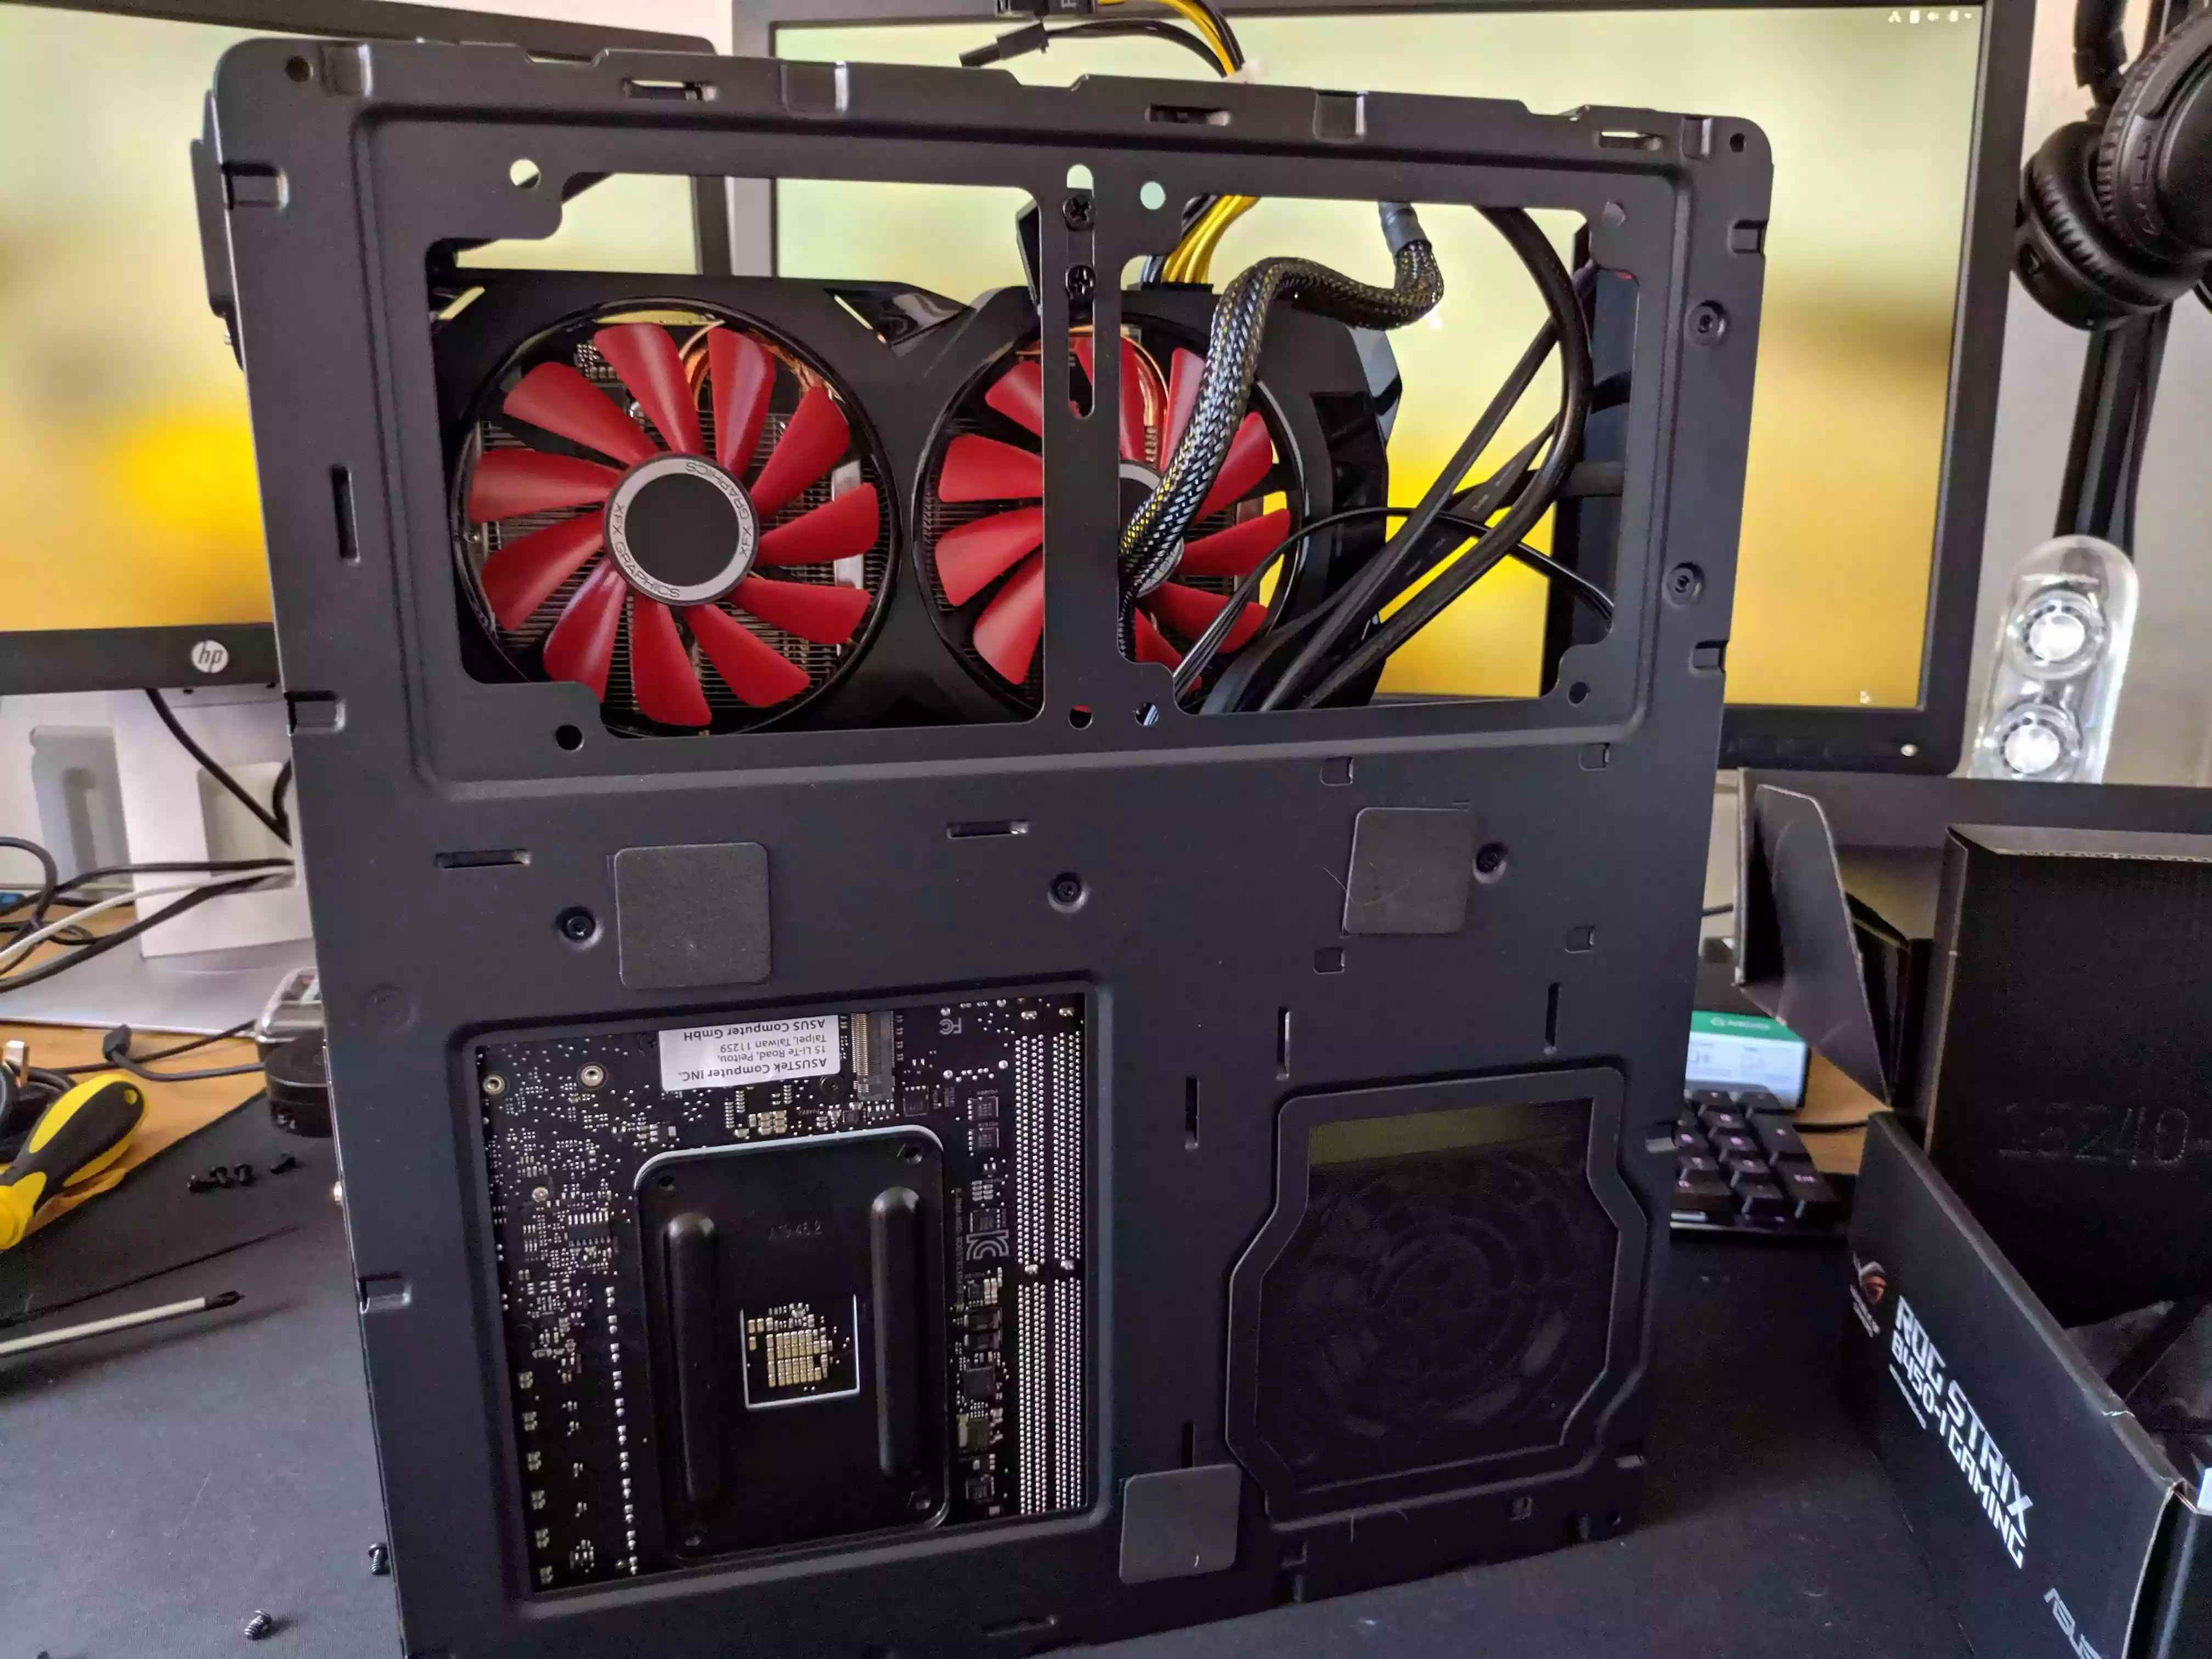
I started assembling the motherboard and noticed the fan was blocking the RAM slots!
This was also by far the most uncomfortable part for me as the spring loaded screws on the fan made it really difficult to get them to thread into the board.
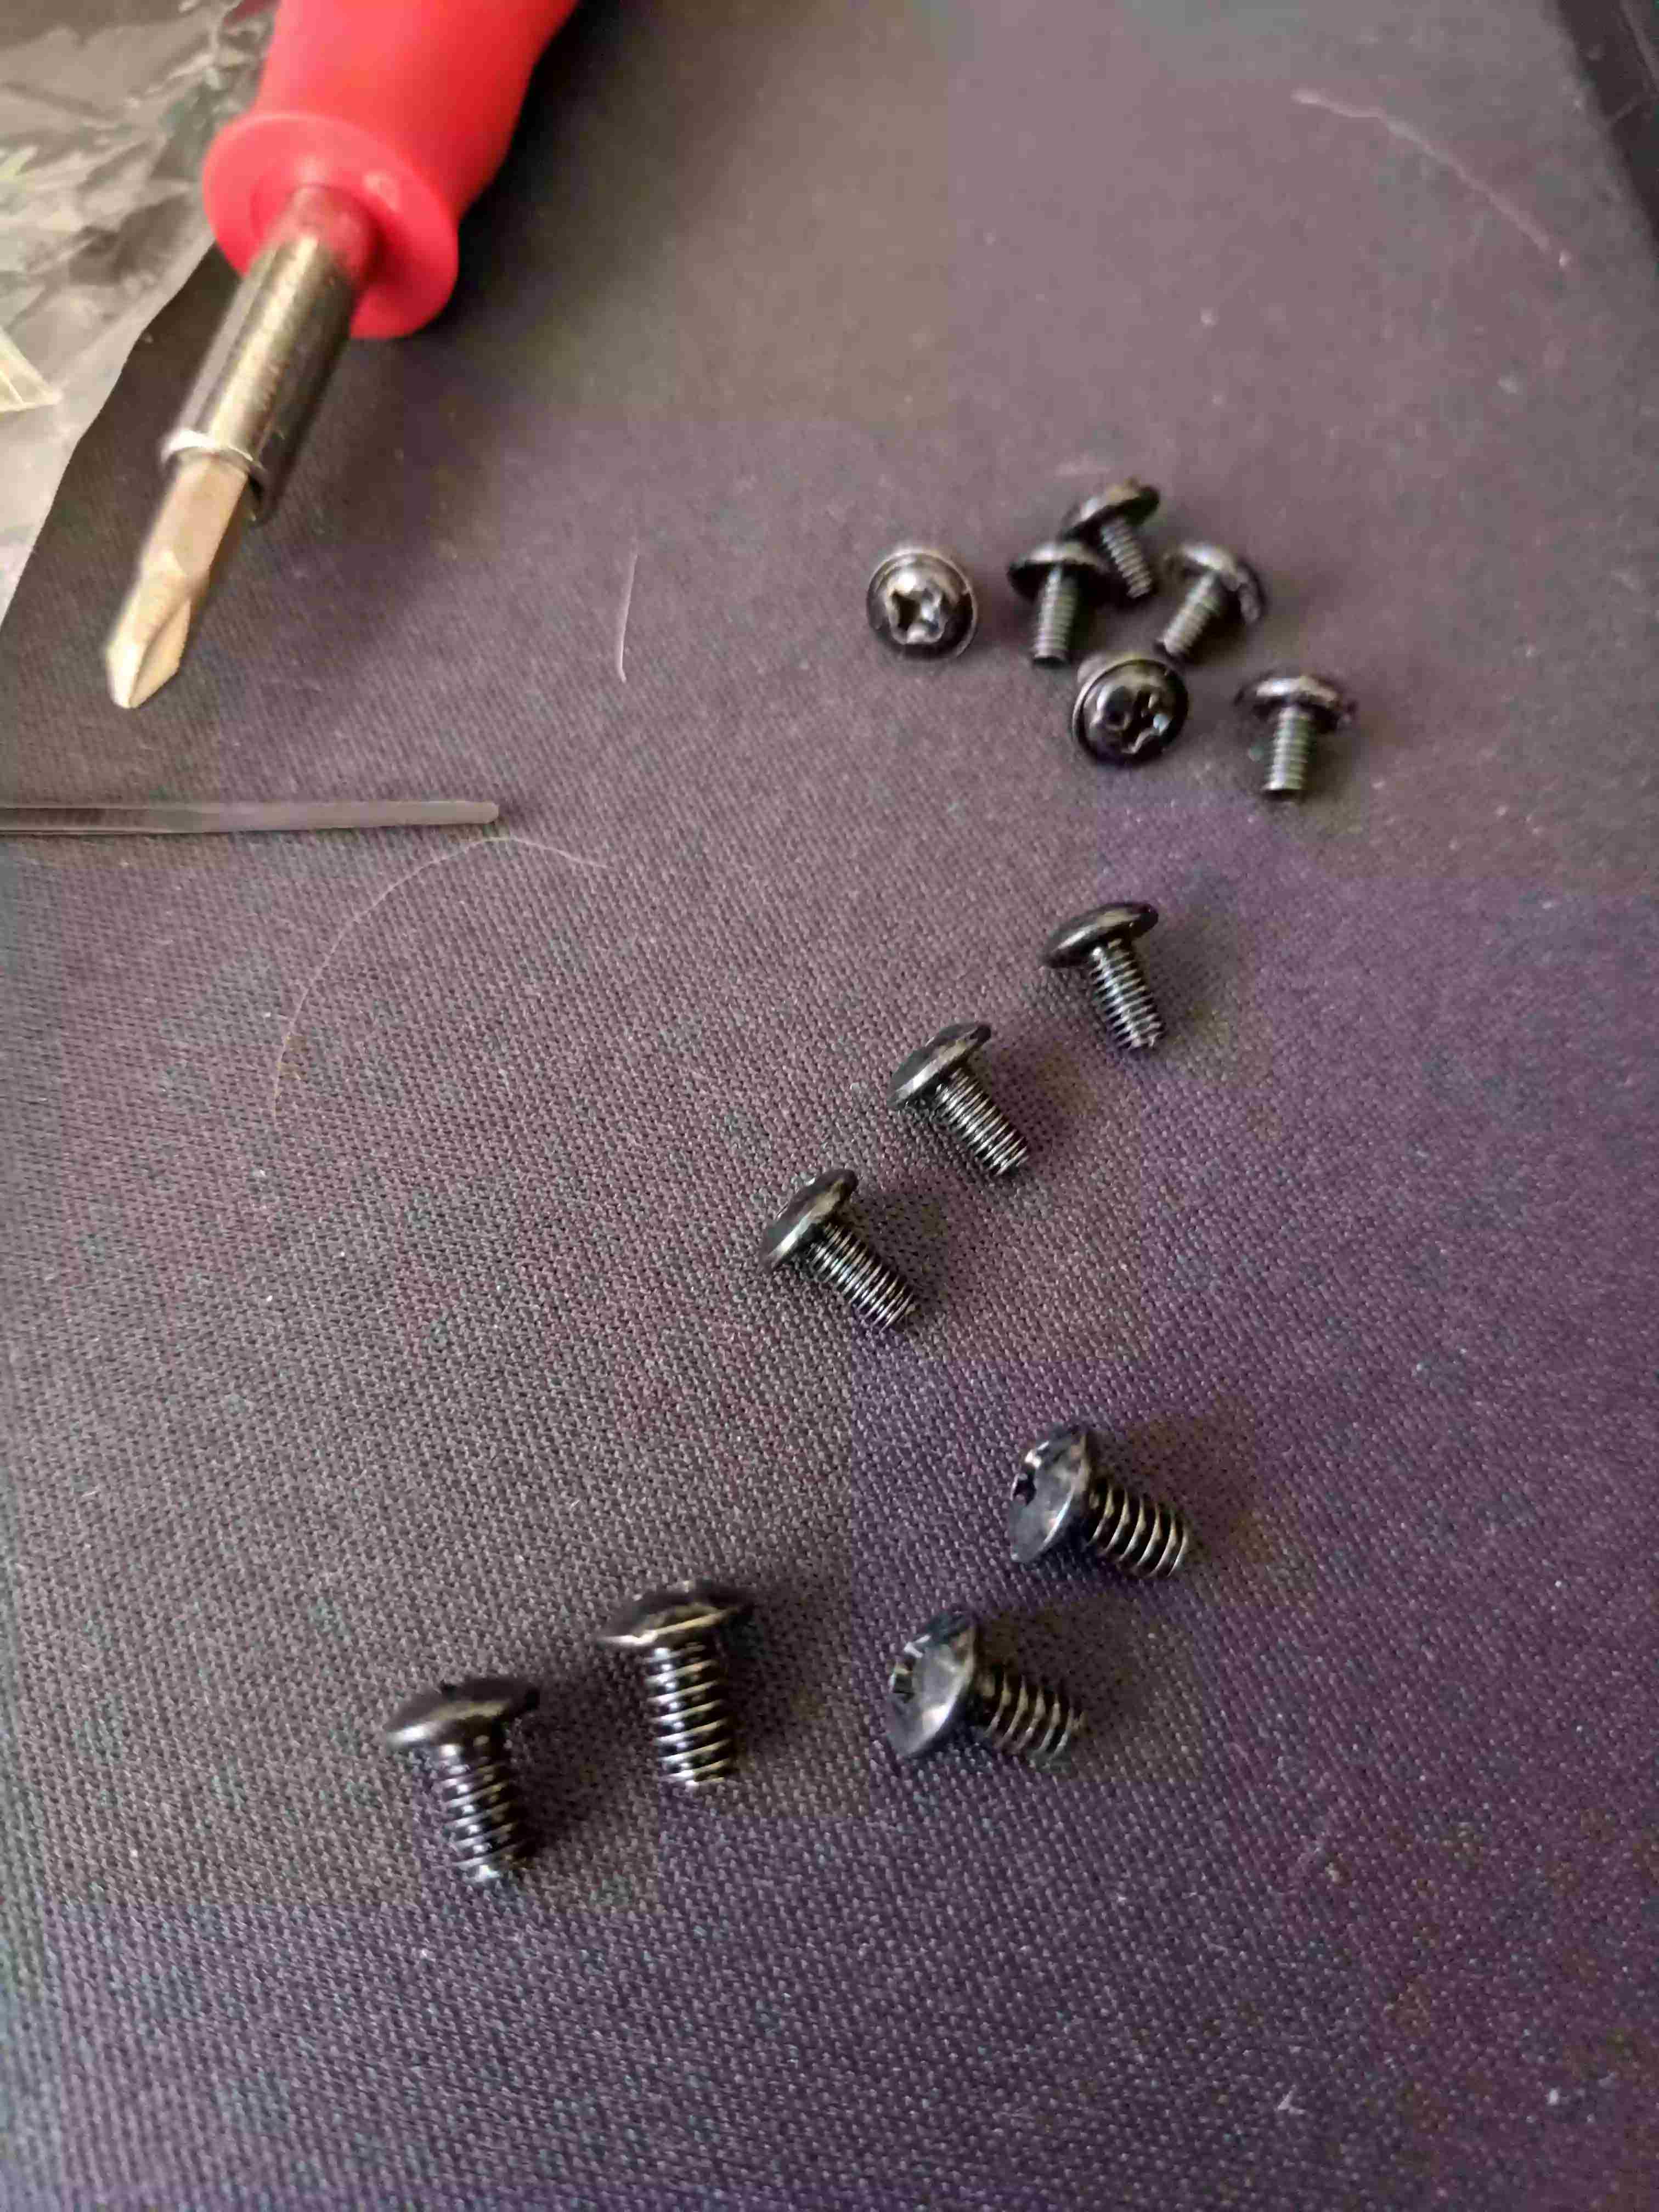
Another confusing part for me was when I was trying to screw the motherboard into the case I noticed the screws weren’t really catching the thread on the case. I looked at the case instructions and it says there’s three different types of screws. They all looked identical to me but they were very subtly different.
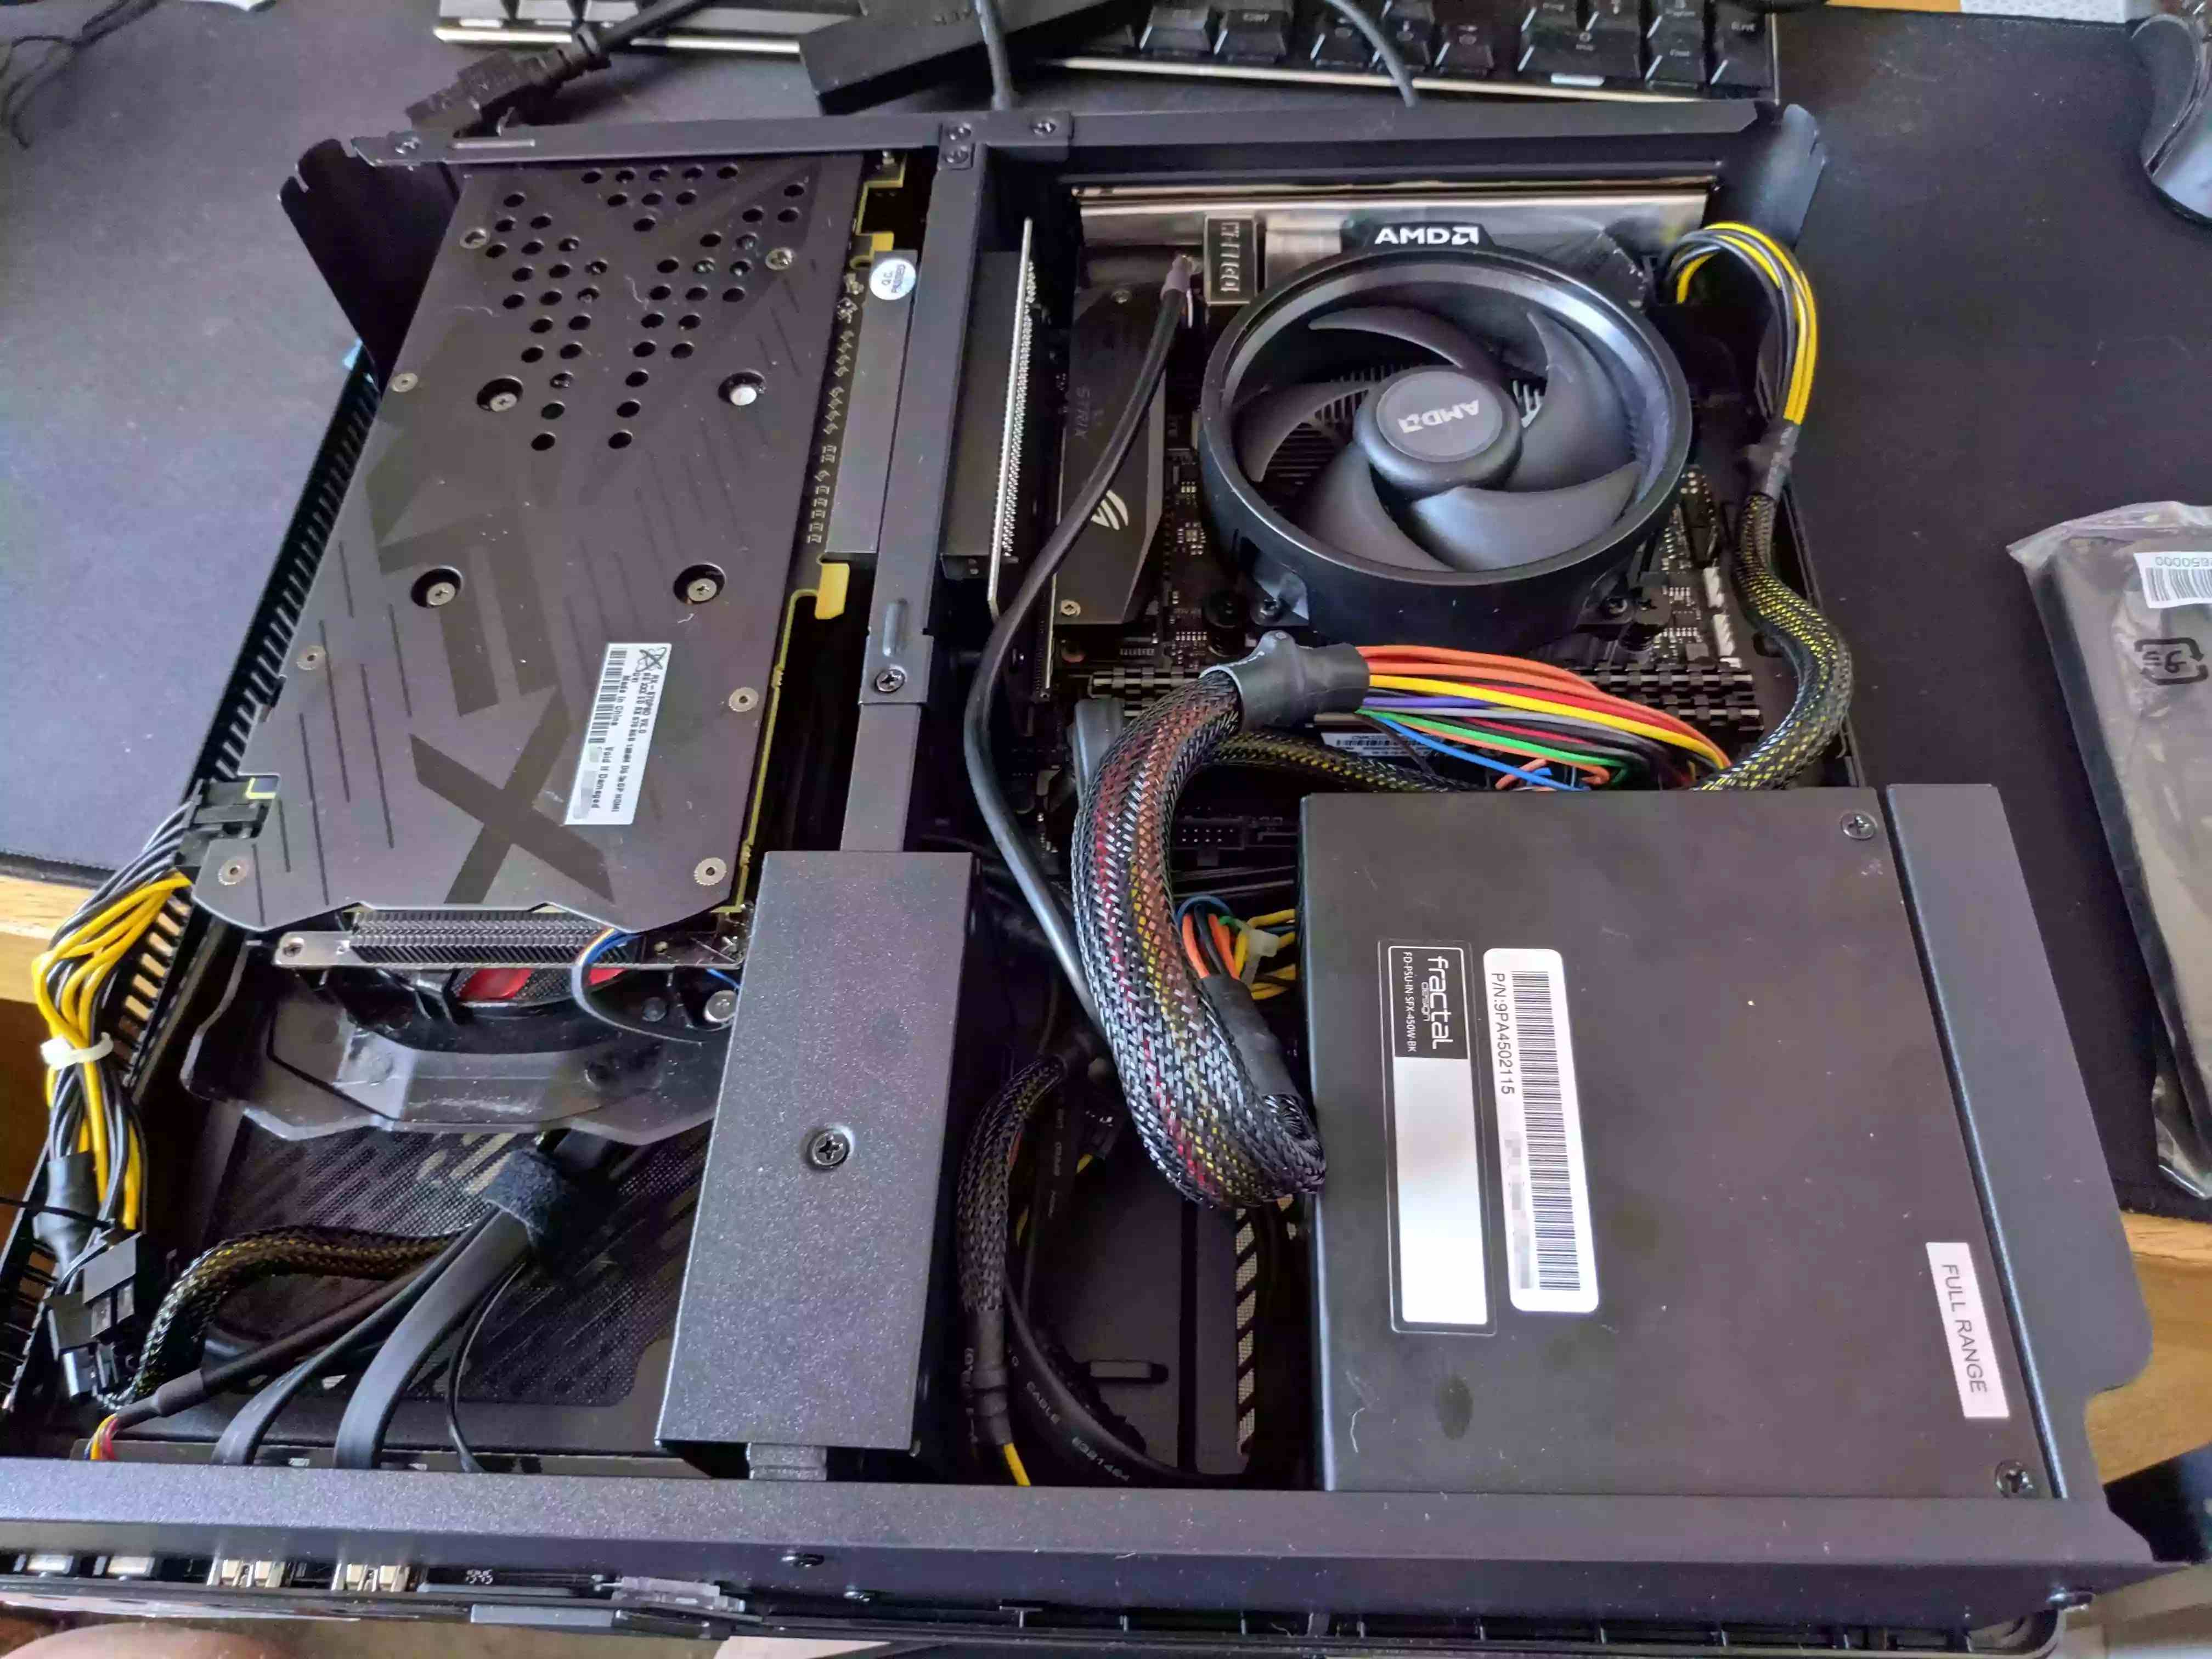
I secure the power supply to the case, which was loosely mounted then screw in the motherboard and notice it’s a big mess of cables right now.

Then remove the GPU assembly and attach the riser card to that then add the GPU to the assembly to add later.
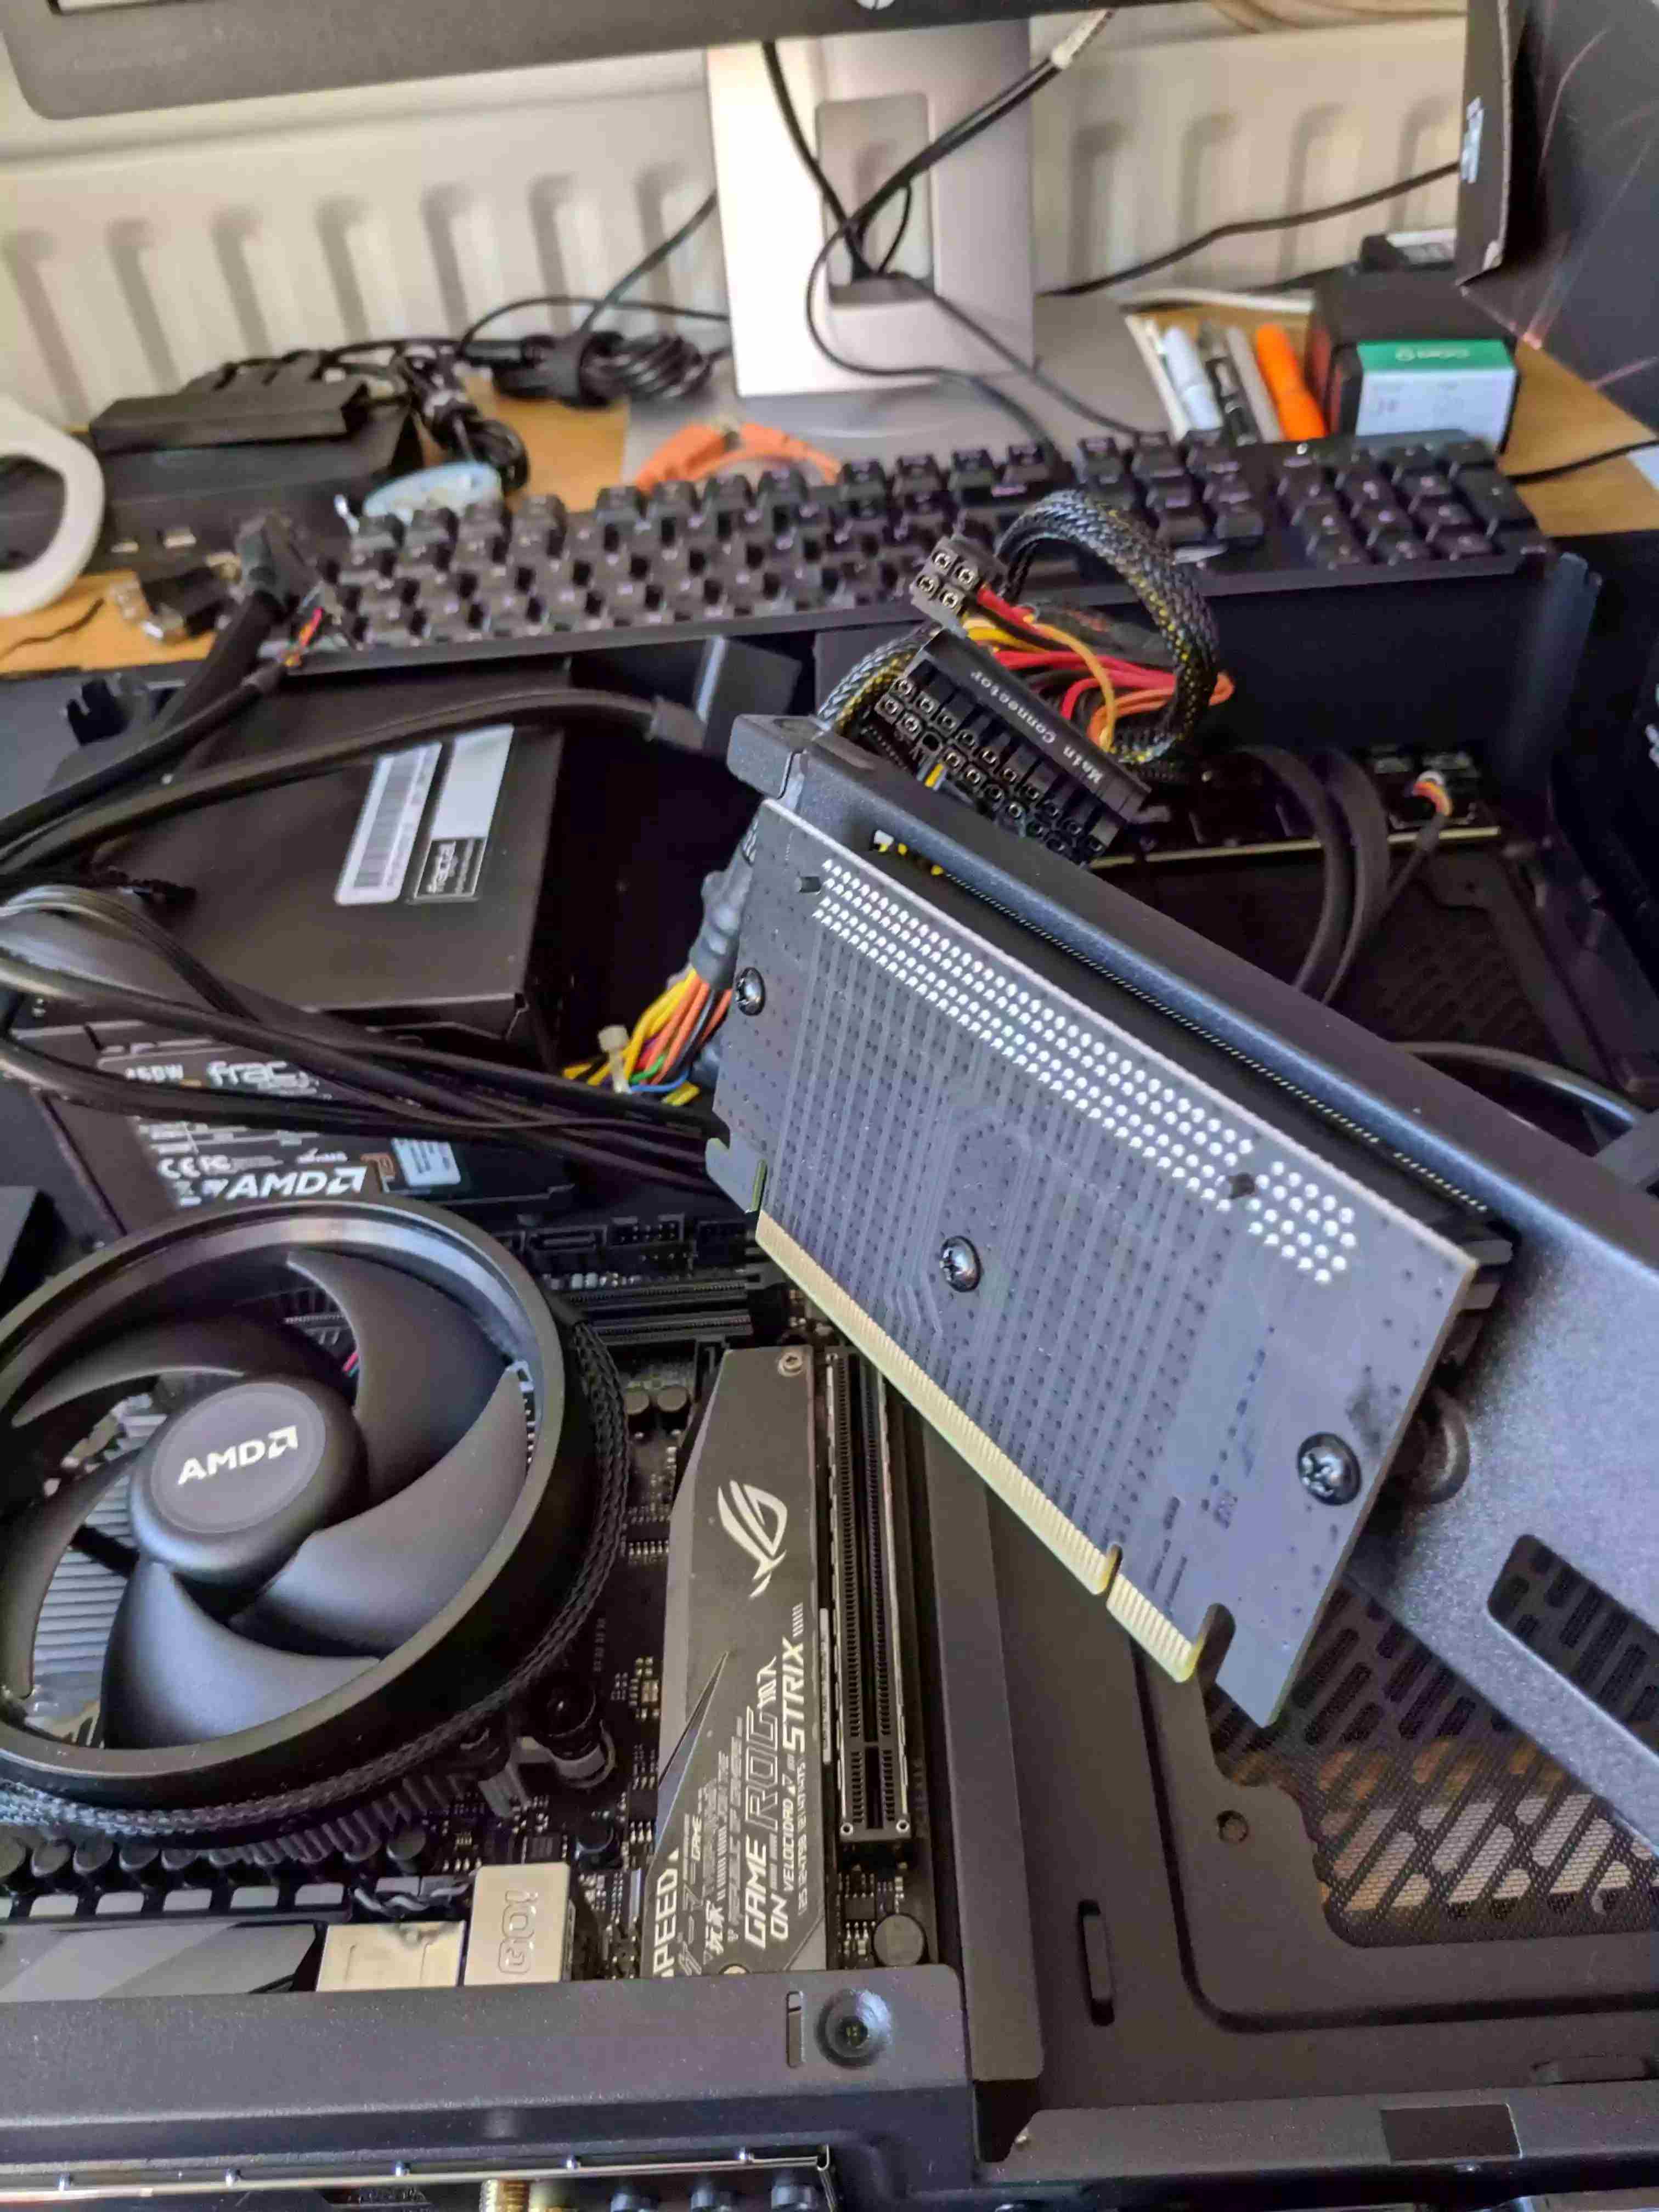
Add the GPU to the case, remember to take of the contact protecting tip on the GPU card!
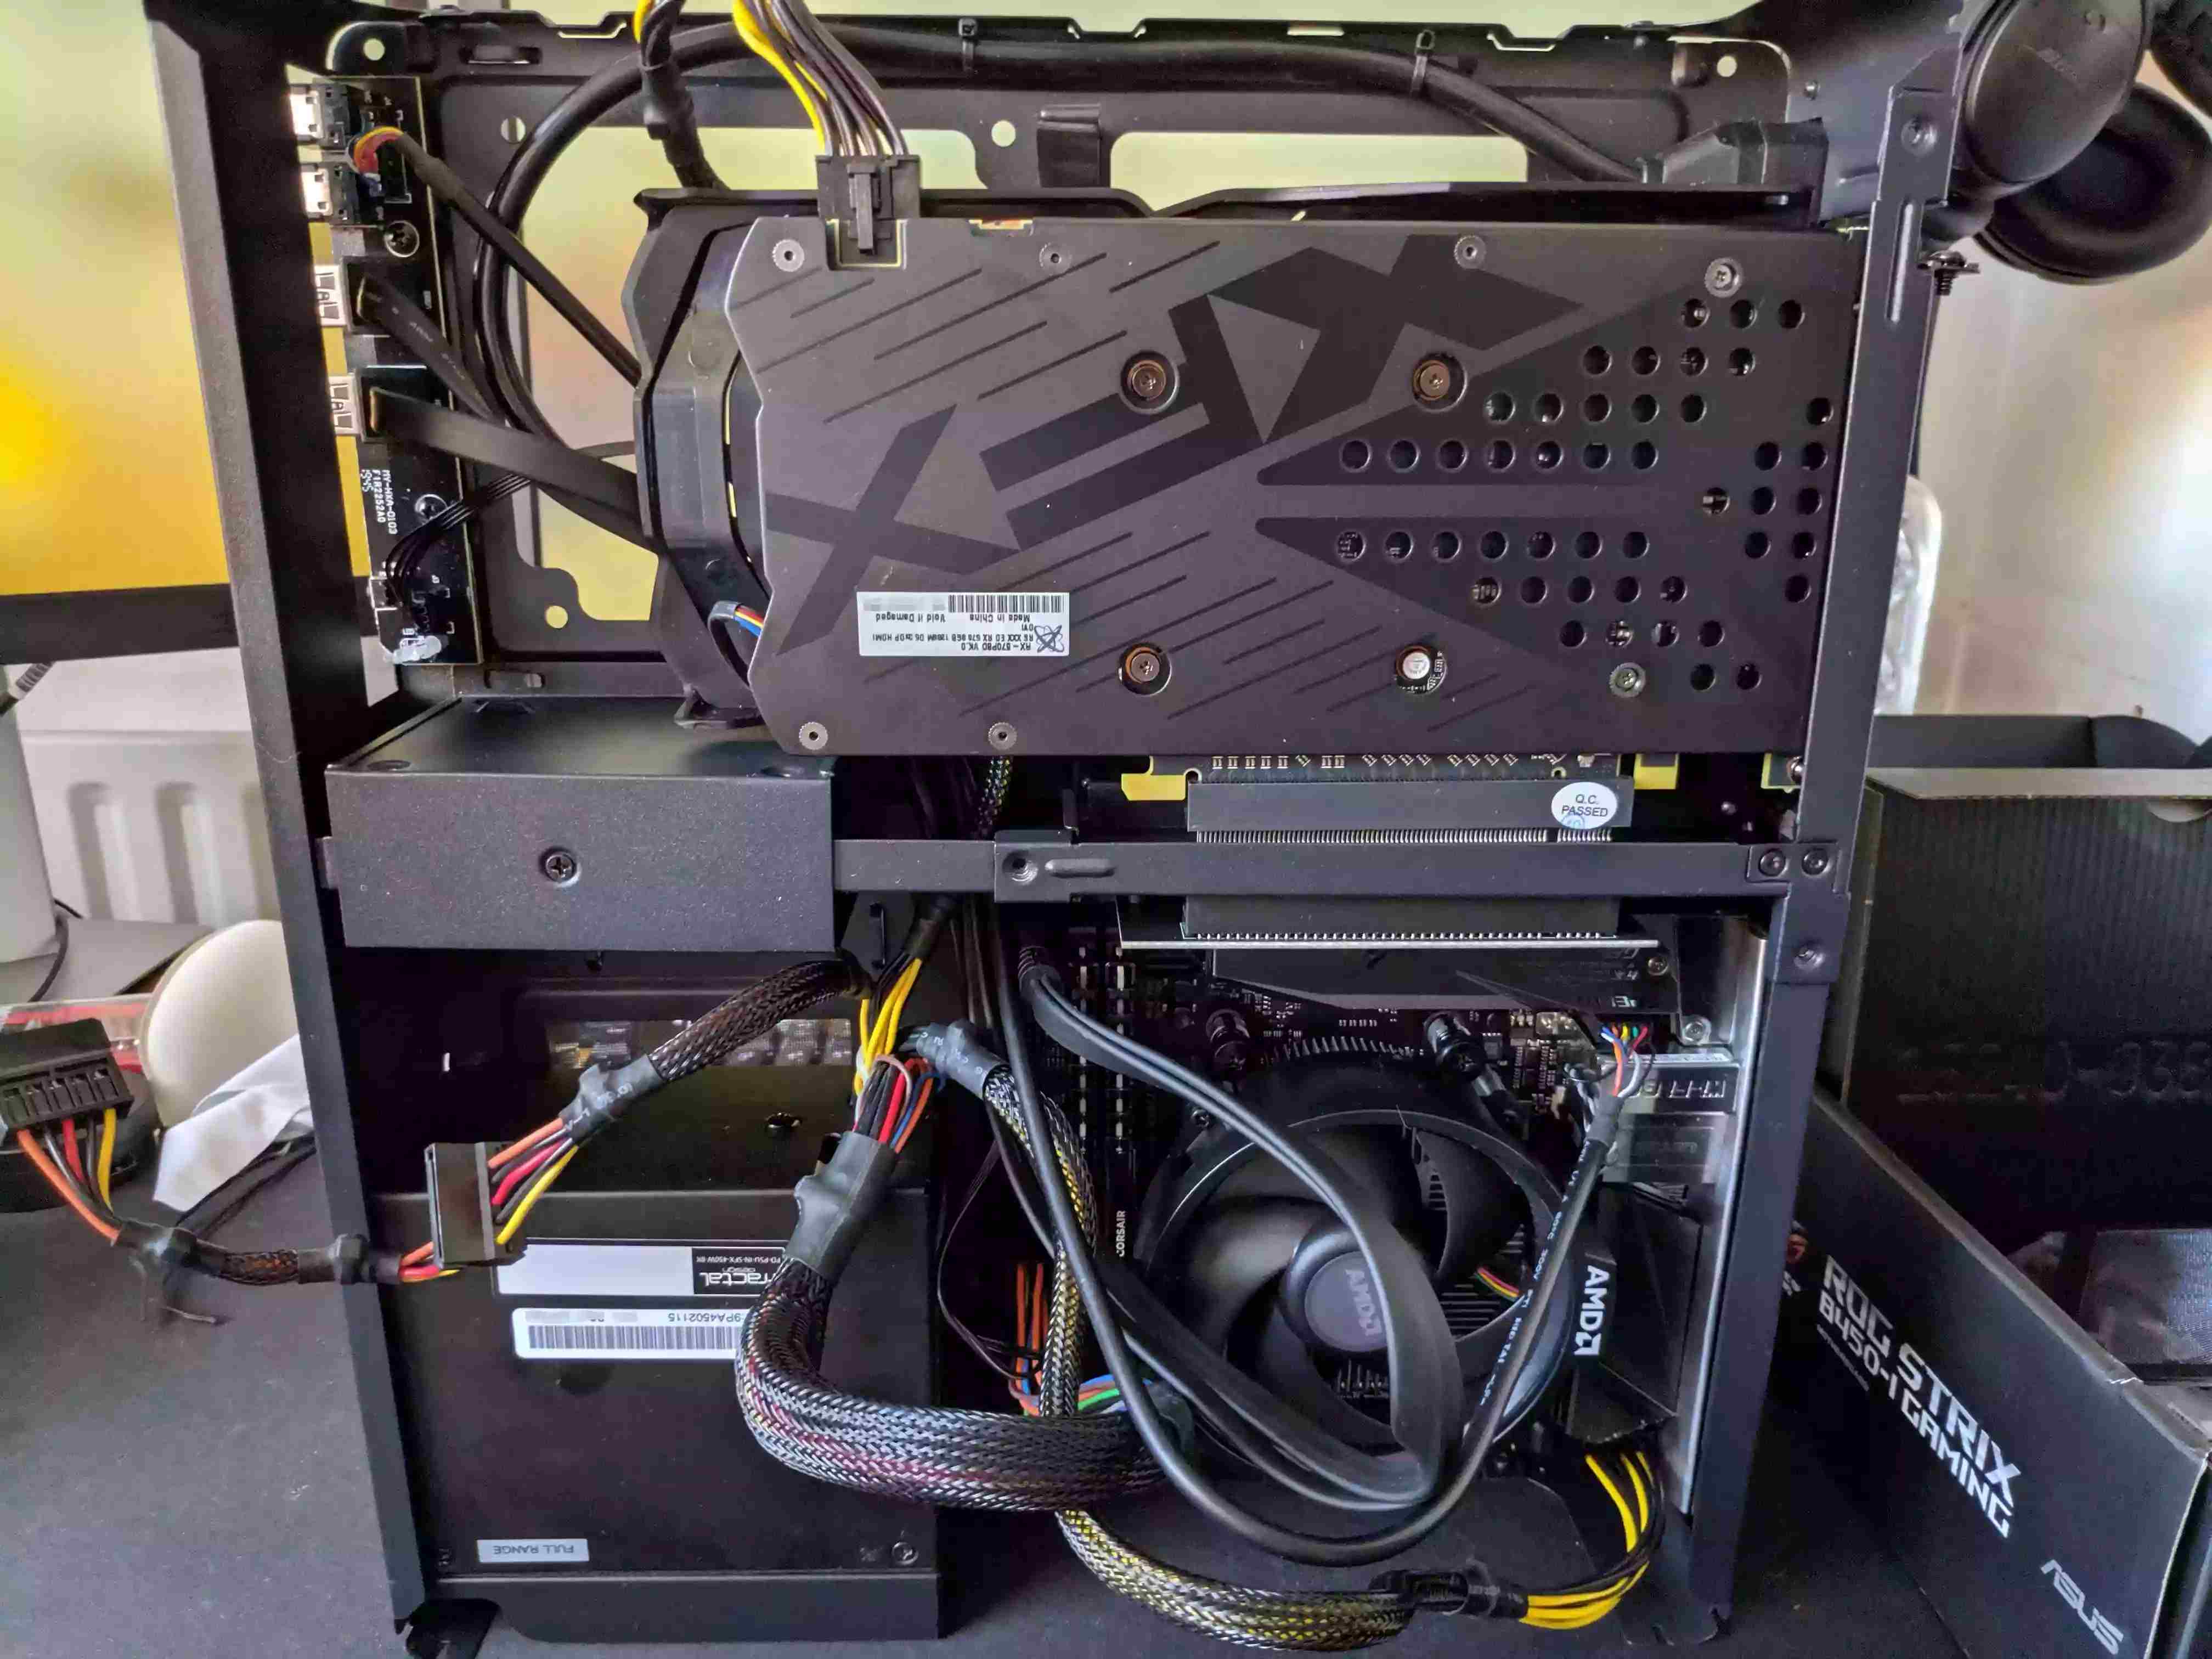
This is what it looks like from the other side, I clearly have to do a bit of cable management at this point.
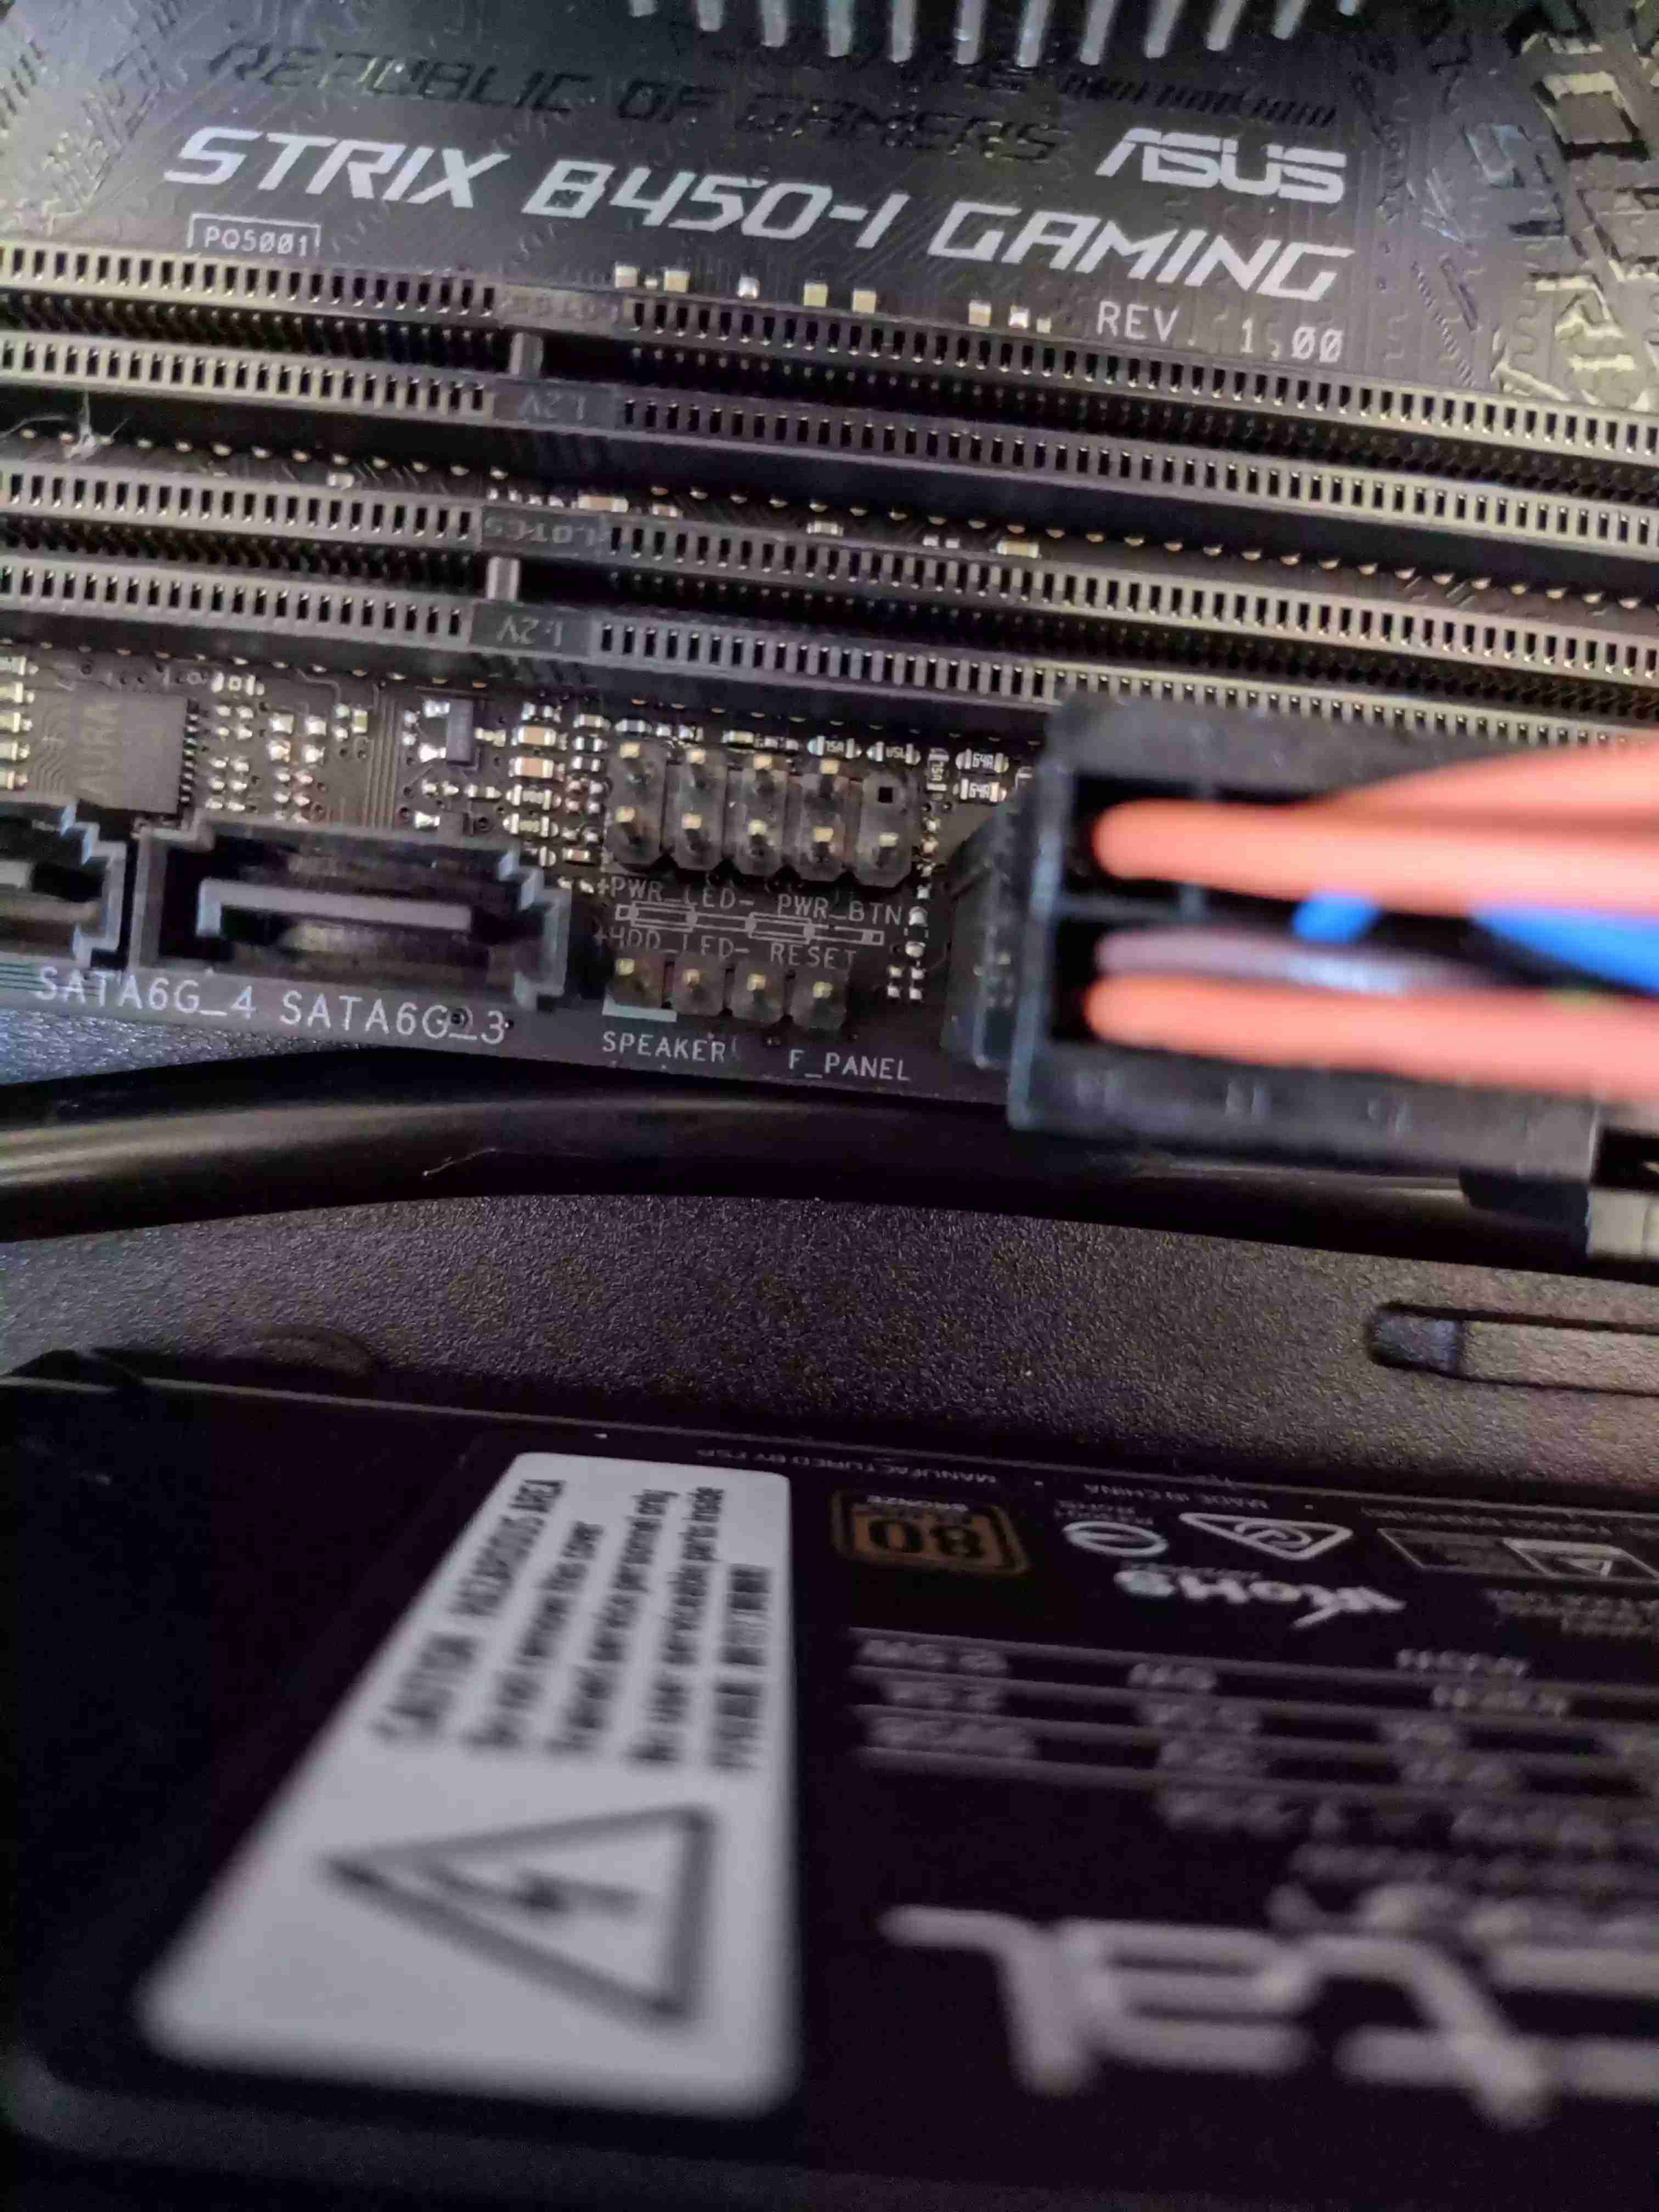
I should have connected the cables for the front of the case to the motherboard prior to installing it. These are the cables for power and the drive indicator but I didn’t so I was left trying to figure out where they went with this much space!
All wired up and ready to close now, after some cable management.
That was it! Cable managed to the best of my abilities which isn’t great but will do the job for now!
Before screwing the front panel on I made sure that it booted correctly before sealing it up.
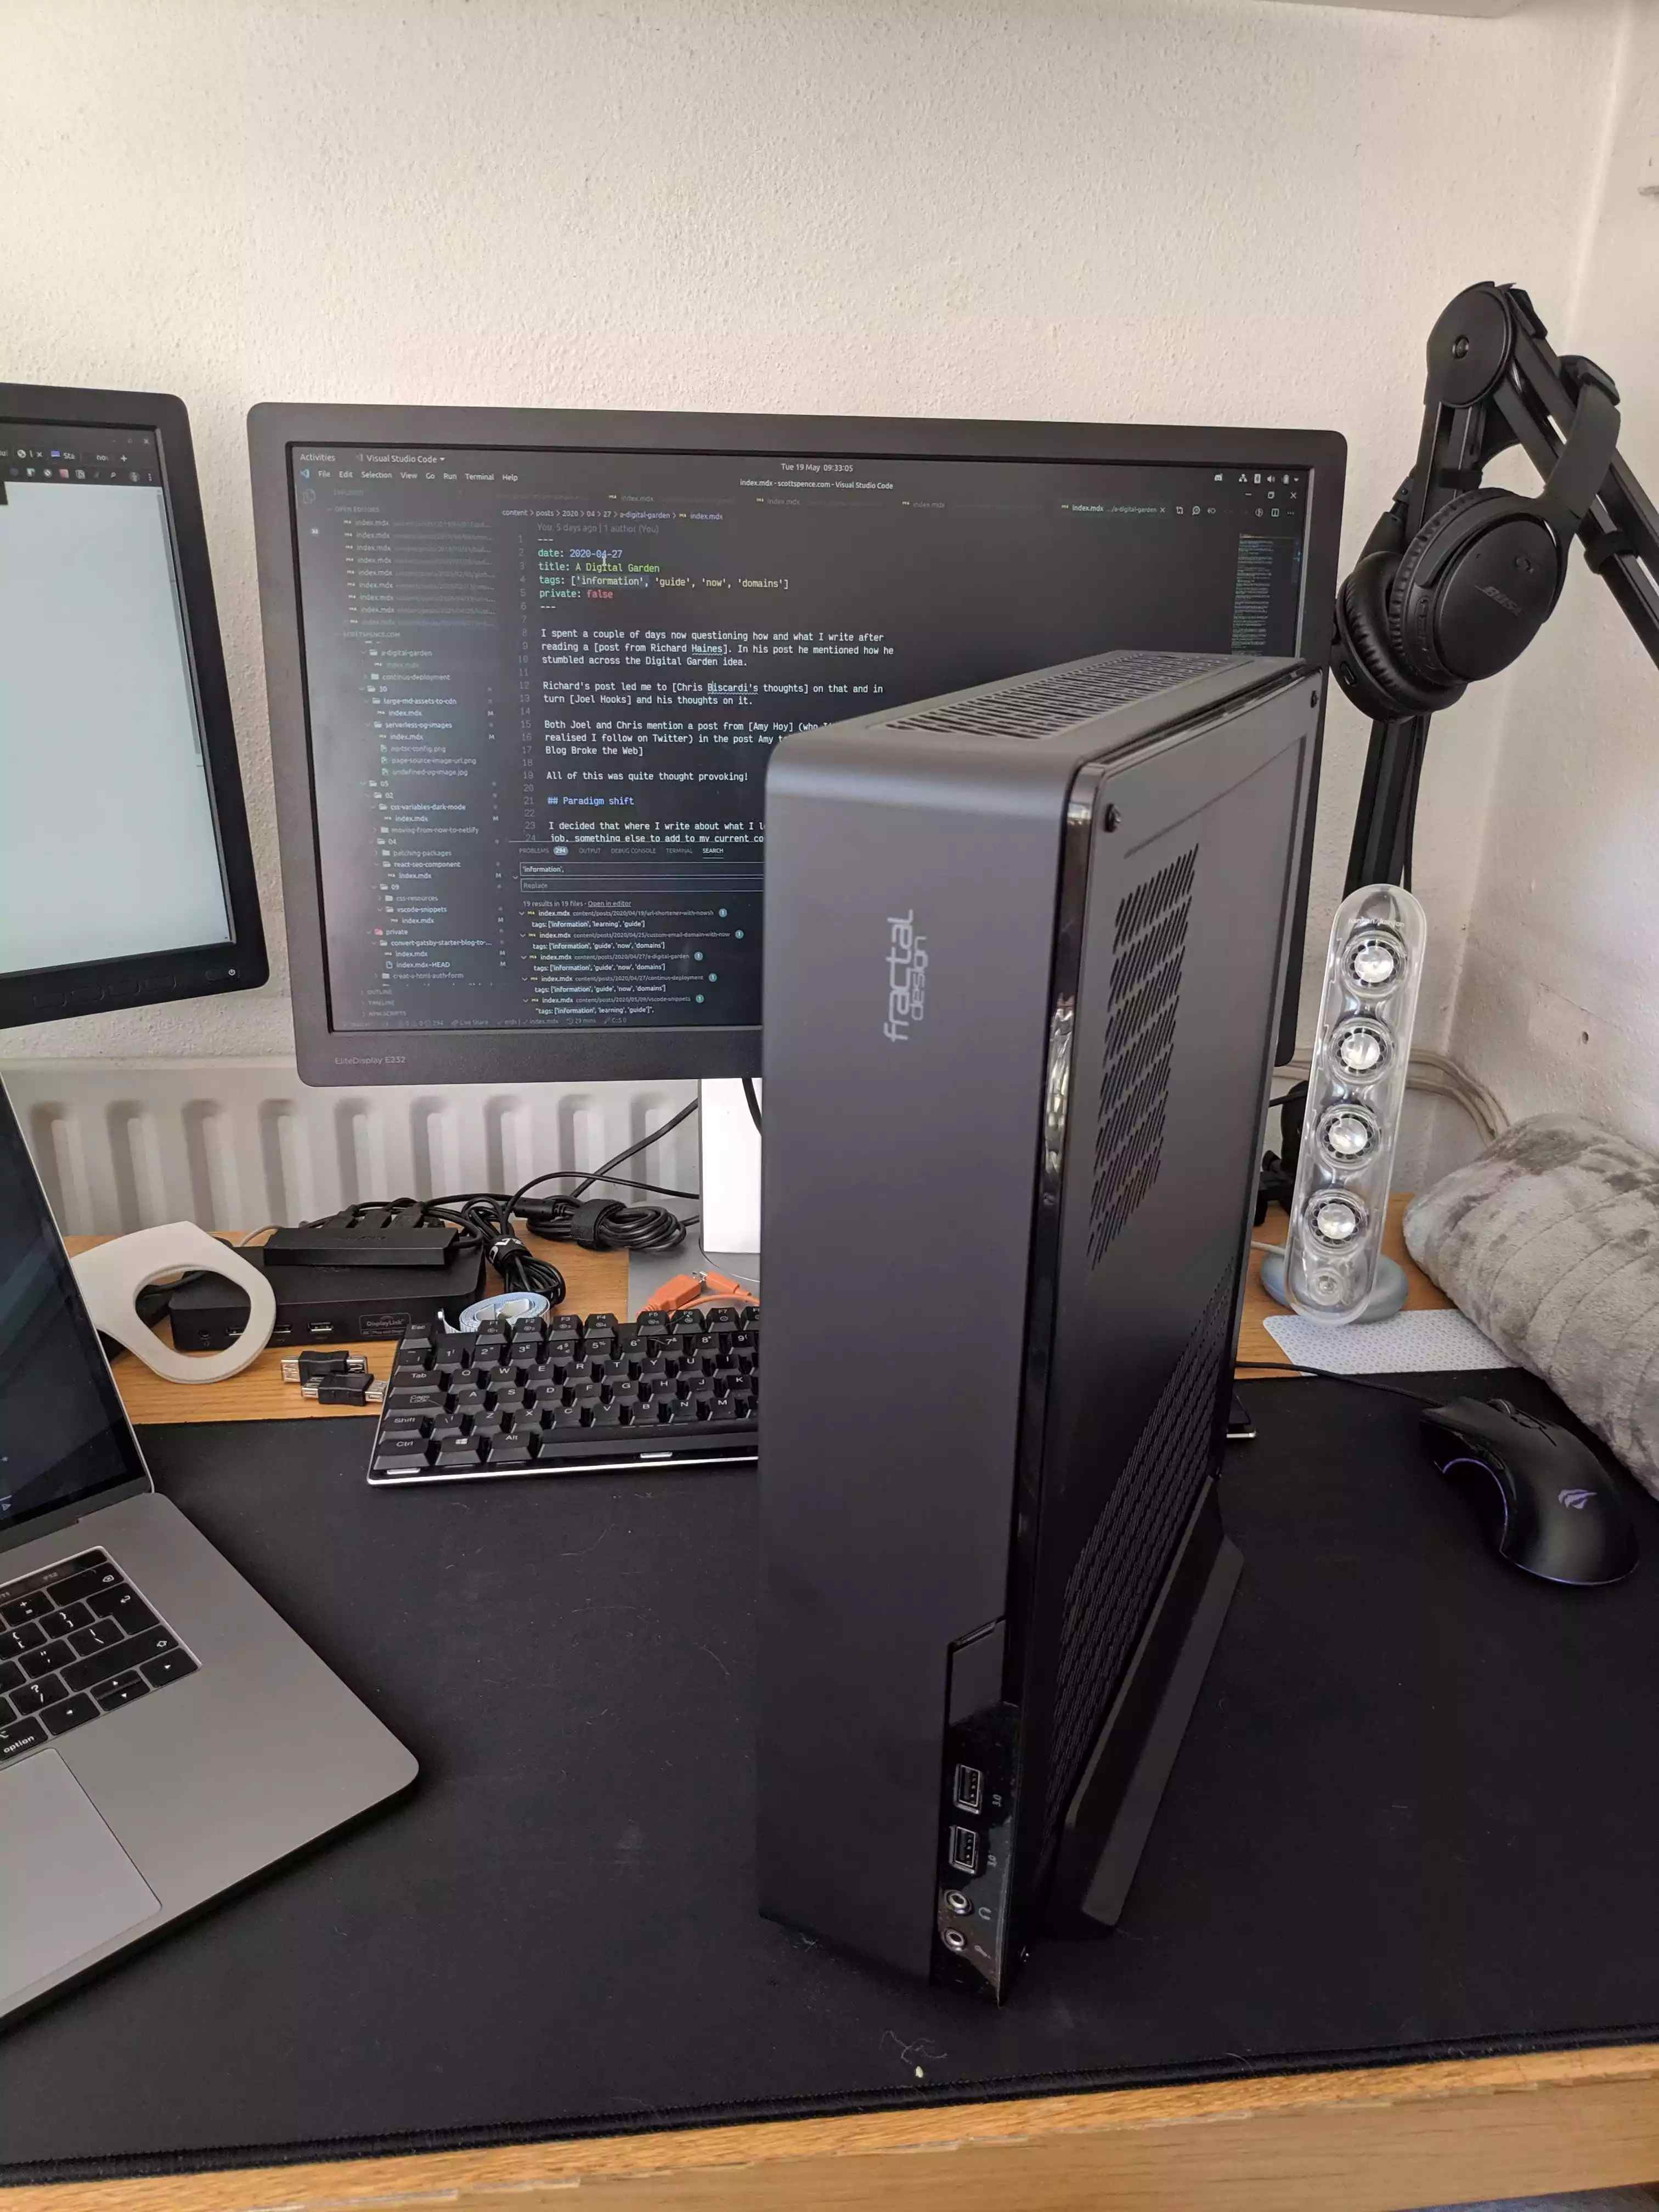
So that was pretty sparse on the details and way more pictures than necessary, here’s one more for good measure, the completed case.
Install operating system
Once I confirmed the build worked then I needed to install an operating system (OS), for me there wasn’t really any doubt for what I was going to use, Ubuntu!
If you’ve never installed an OS on a computer before you need the OS to install. I had Ubuntu 19.04 on a USB sick, you insert it into the computer then go into the BIOS of the motherboard to select a boot option.
To get into the BOIS of a system you usually need to repeatedly push the F2 or Del button to start it.
Ubuntu 19.04 was immediately upgraded to Ubuntu 20.04 and things got a bit weird then, the software sources wouldn’t load meaning I couldn’t add any software over what was already installed.
I was able to make a new USB drive with Ubuntu 20.04 and went ahead an reinstalled it over what I’d already installed.
What I will say for the hardware here is that it took minutes to install a new operating system. I was blown away at how fast it went with an SSD.
Areas for improvement
Although I was glad to get through it all without anything catastrophic happening there are still some things that could be improved upon if you’re asking me.
The included fan although really useful in helping cut costs isn’t the best due to the height giving less than optimal airflow.
What I have eyed up for a future improvement is the Noctua NH-L9a-AM4 33.84 CFM CPU Cooler.
The fan also comes packaged with thermal paste which I could use to replace the stock paste that cam pre applied to the Ryzen fan.
The case PSU cables are ugly, and there’s a lot of redundant cables in there taking up precious space.
Currently the only storage on there is the 500GB Samsung M.2 drive. Ideally I’d like to add more storage with a Samsung 860 Evo 1 TB 2.5” Solid State Drive
Finally better RAM speed, currently I have 3200 but could go to 3600, but if I’m going to upgrade the RAM I may as well bump it from 32GB up to 64GB, but that’s in the region of £300 so no need for that yet.
Check out my completed build here: https://uk.pcpartpicker.com/list/pHkrCL
The price wil vary depending on when you look, I got the whole setup for just over £750.
There is no way you will find a laptop with that sort of spec sheet for that sort of price, believe me I’ve looked.
Resources
There's a reactions leaderboard you can check out too.
Sign up for the newsletter
Want to keep up to date with what I'm working on?
Join other developers and sign up for the newsletter.
I care about the protection of your data. Read the Privacy Policy for more info.